Pelma — The Weave Light
A solar-powered outdoor lamp designed for patios and sunrooms — the spaces people use like extra rooms but can never quite light well enough. Functional, portable, and wrapped in a woven outdoor fabric that turns warm LED light into a soft, sculptural glow.
- Problem
- Existing solar outdoor lights are decorative, not functional — too dim for reading, cooking, or socializing after dark
- Materials
- Woven outdoor fabric, aluminium extrusions, 3D-printed mechanism, 12V 2W solar panel, warm LED
- Key Features
- Two modes — stationary table lamp & portable carry — with a collapsible handle and solar charging
Context
The gap in the market
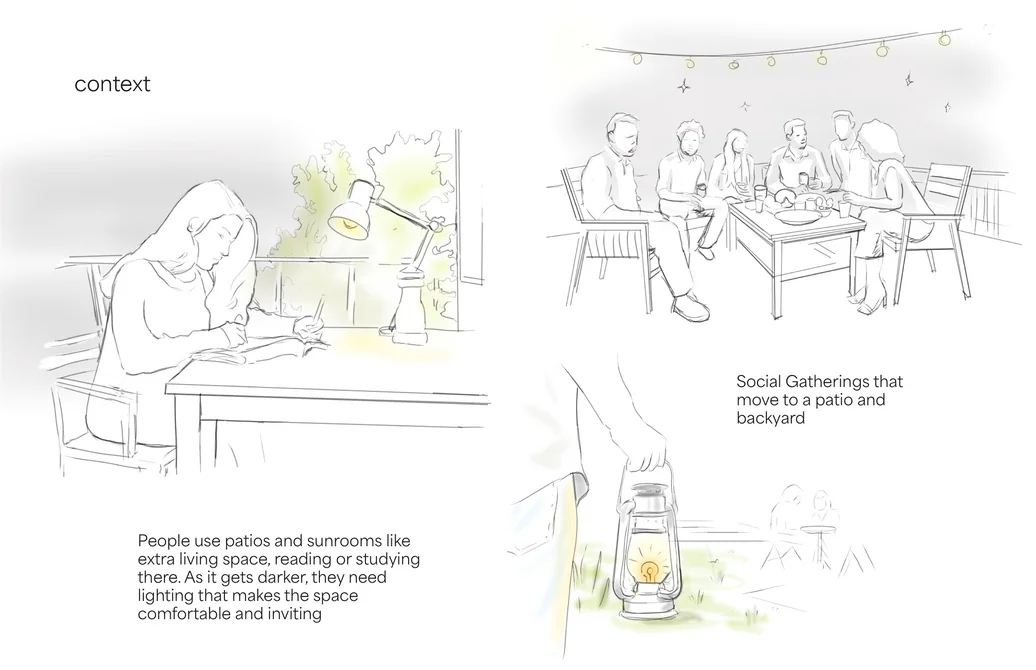
Most solar outdoor lights are decorative — small panels, dim LEDs, designed for ambiance rather than activity. They charge all day and produce light that's barely enough to see by. For anyone who wants to read, cook, or socialize on a patio after dark, they fall short.
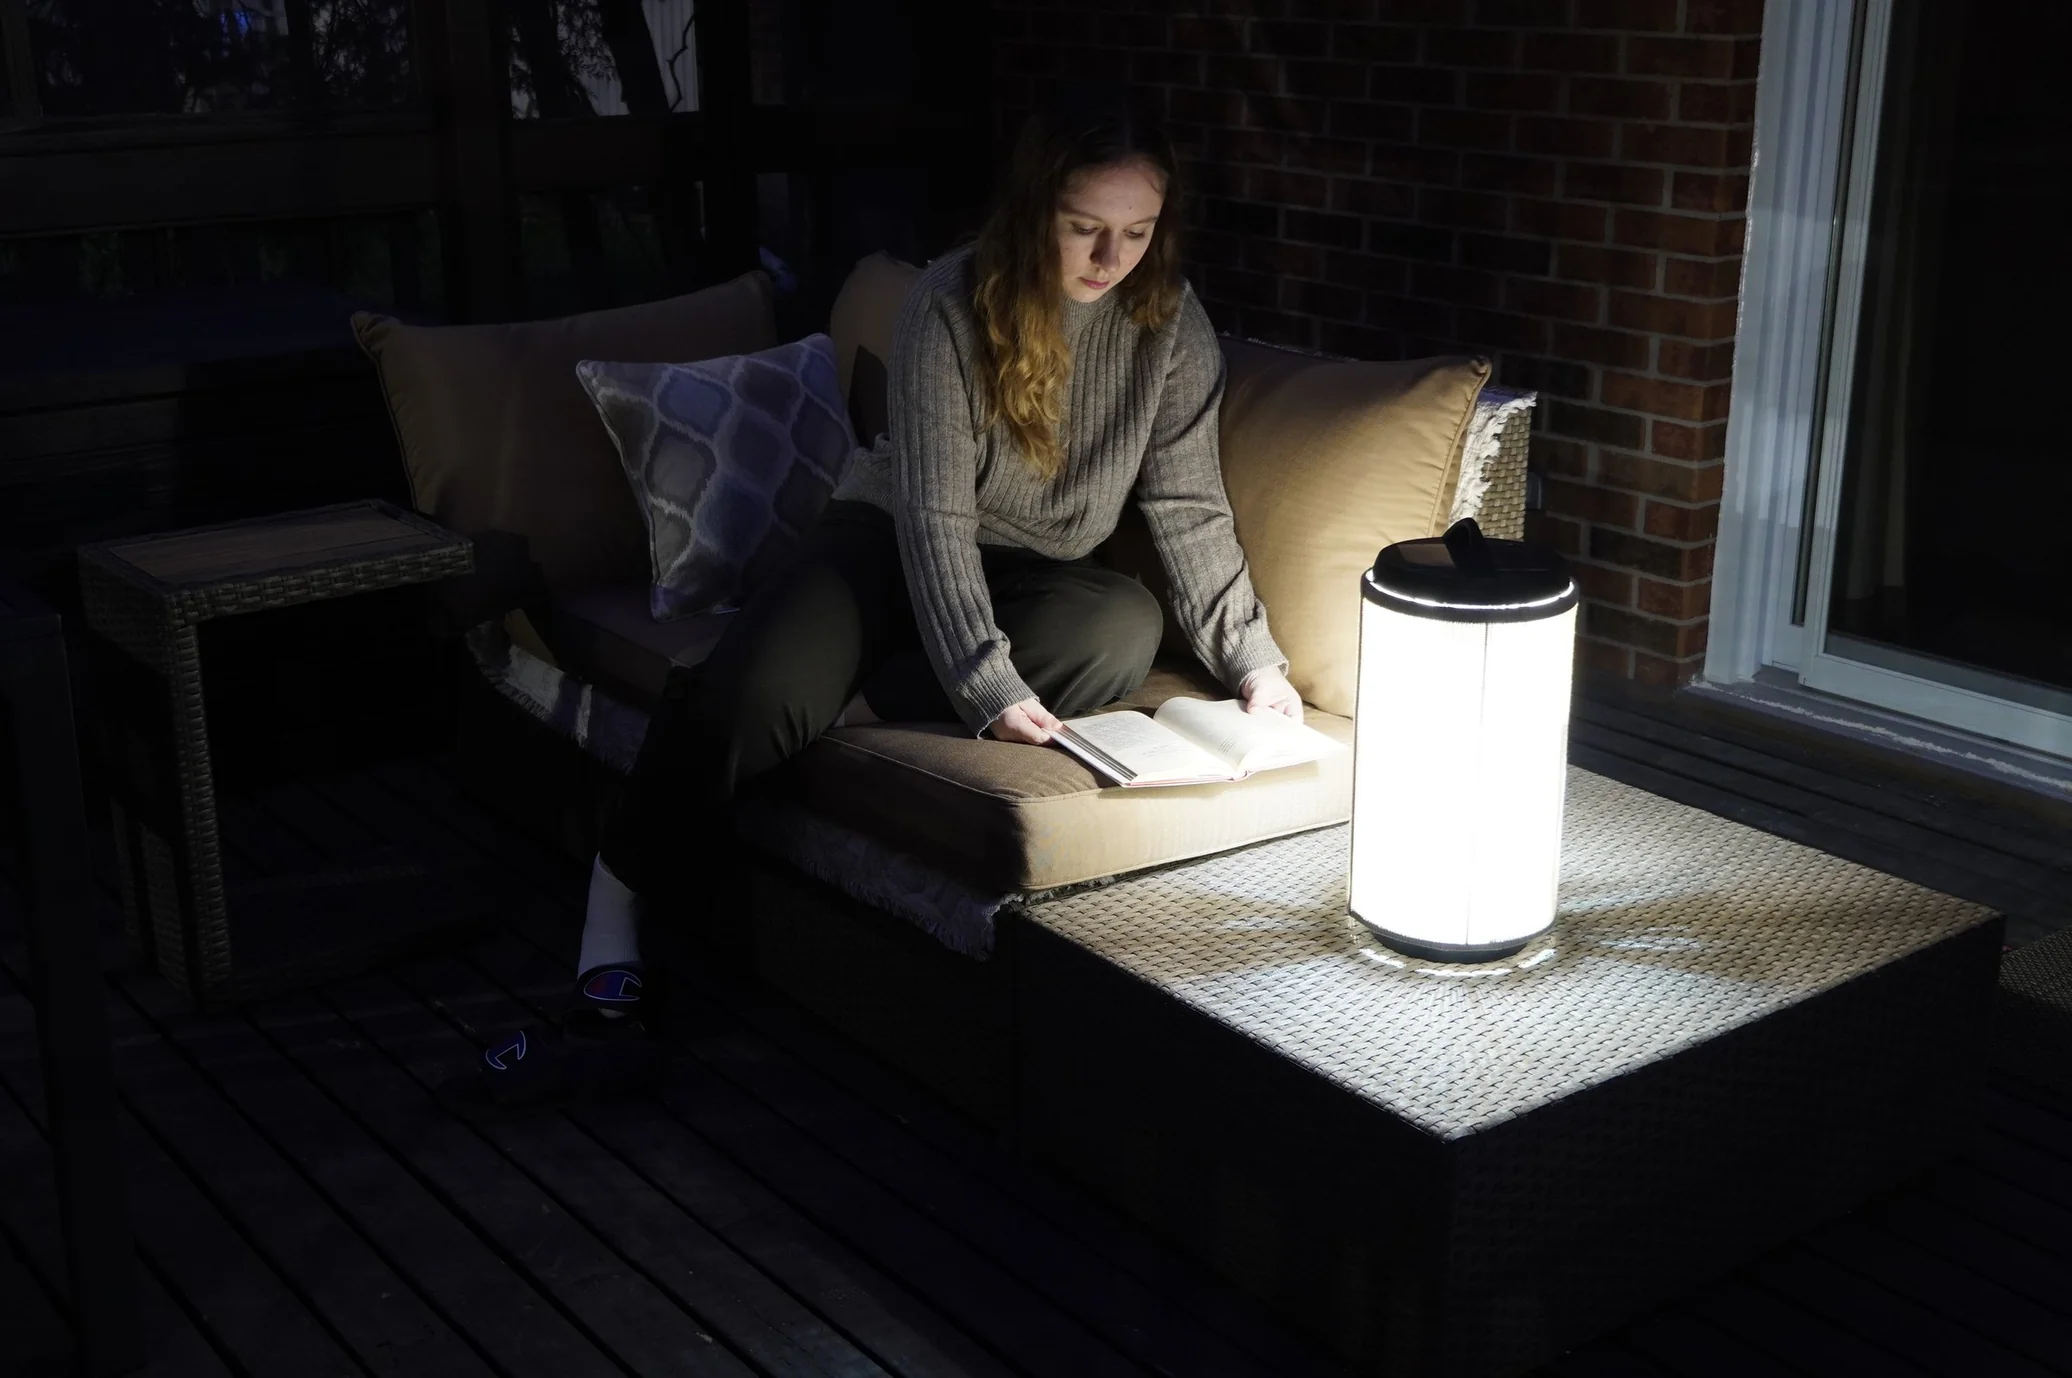
Pelma targets a different niche: semi-outdoor spaces like patios and sunrooms that people treat as extra living rooms. These spaces need functional lighting — bright enough for reading and conversation — while remaining beautiful and untethered from a power outlet. The project scope was a minimum viable product: get the core right — real light output, solar charging, portability, refined form.
Early Concepts
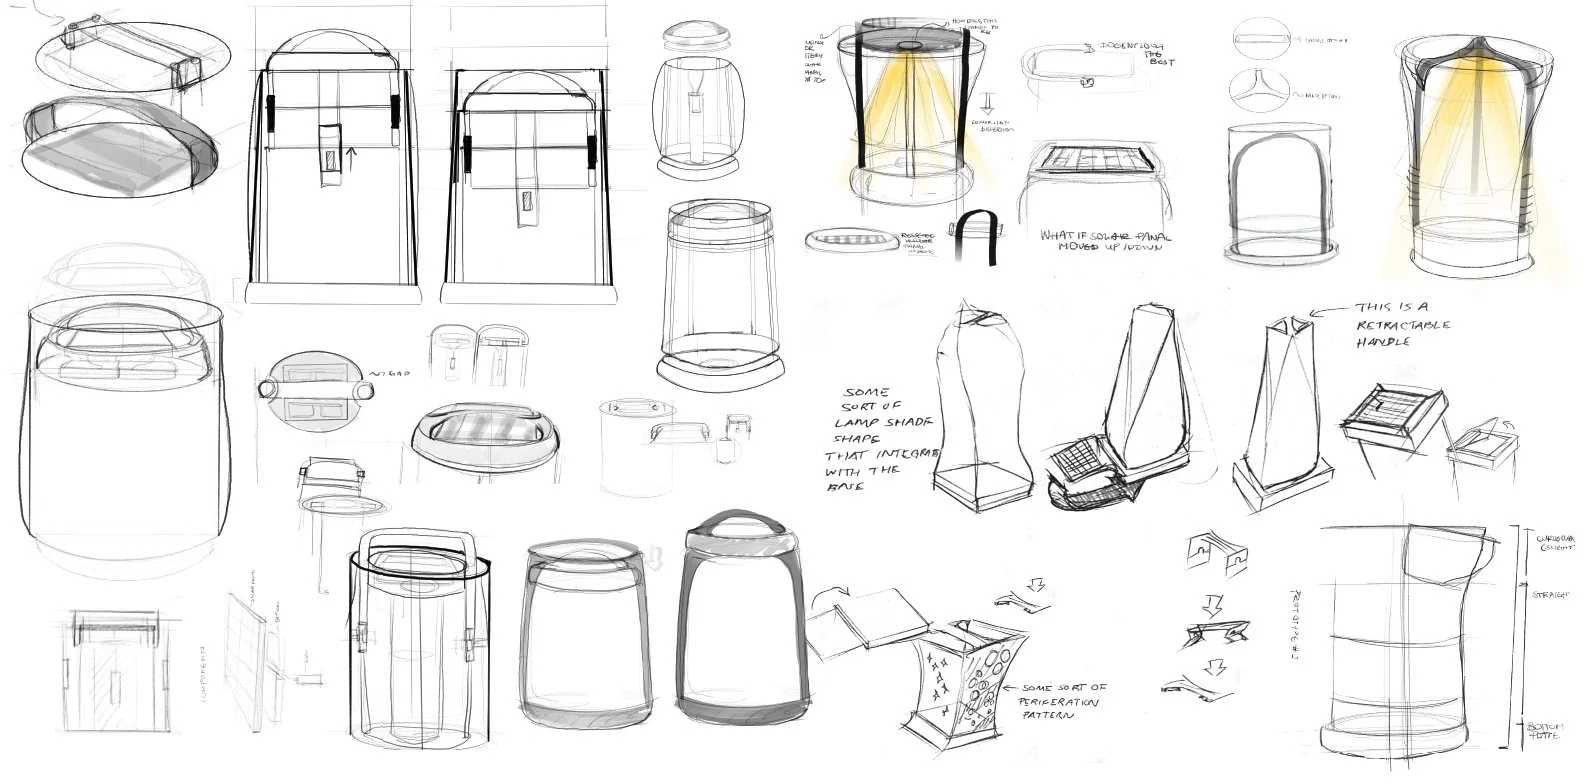
Three directions were explored before committing to a path. All three shared the same core requirements — solar charging, portability, and a fabric or textured shade — but differed in form language and mechanism.
Concept 2 was selected for development. Its hidden handle mechanism created the cleanest silhouette in stationary mode, and the sheer fabric diffuser idea — later evolved into a structured woven outdoor fabric — carried through to the final design.
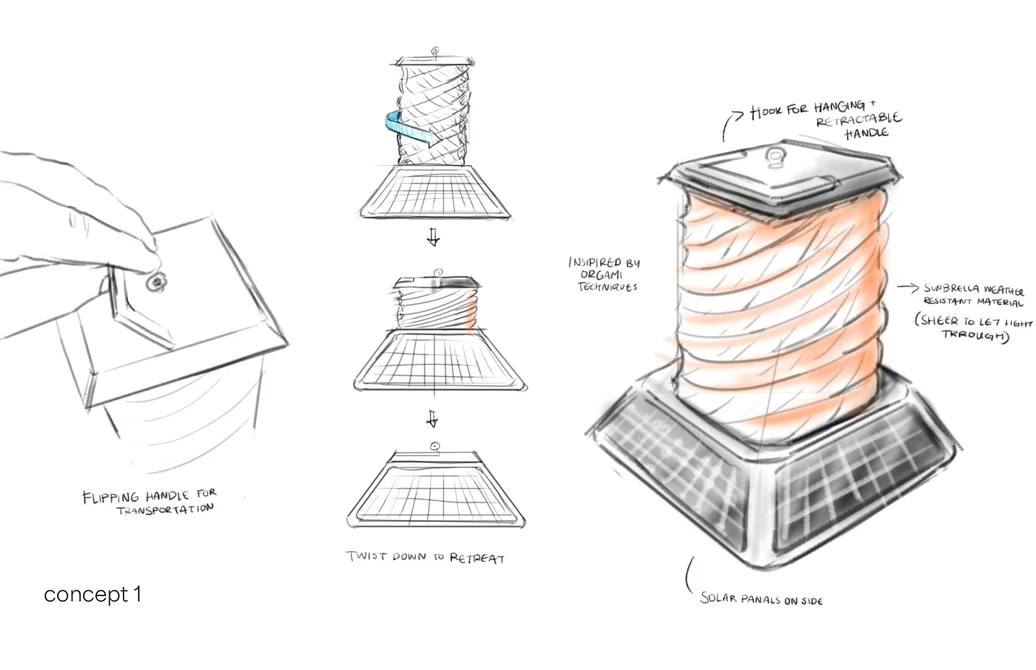
Concept 1 — Origami / collapsible shade
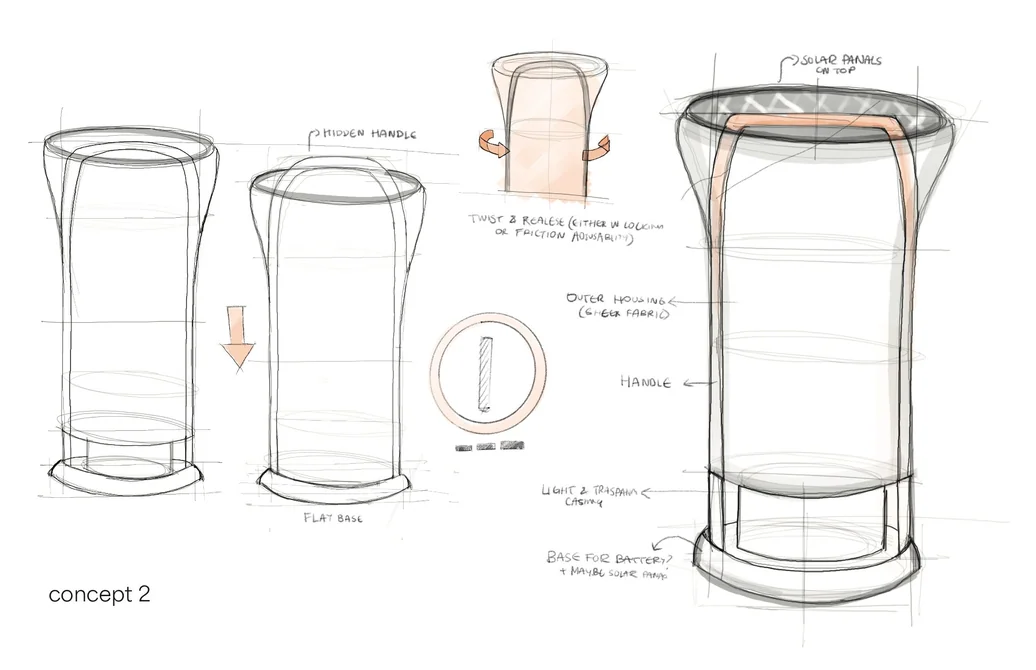
Concept 2 — Hidden handle → selected
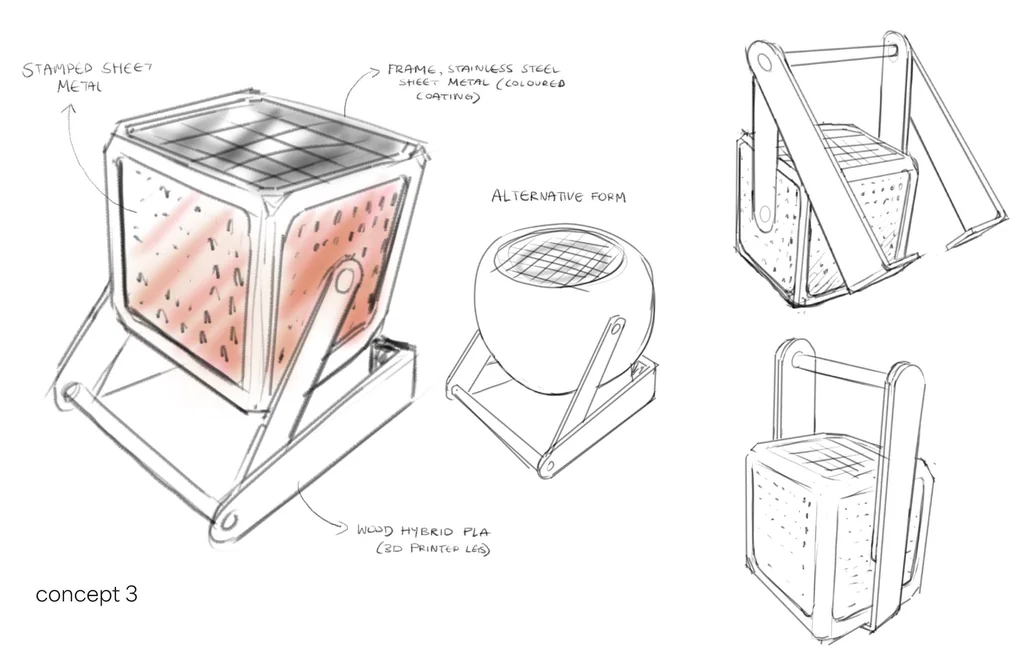
Concept 3 — Sheet metal / perforated panels
The Lamp
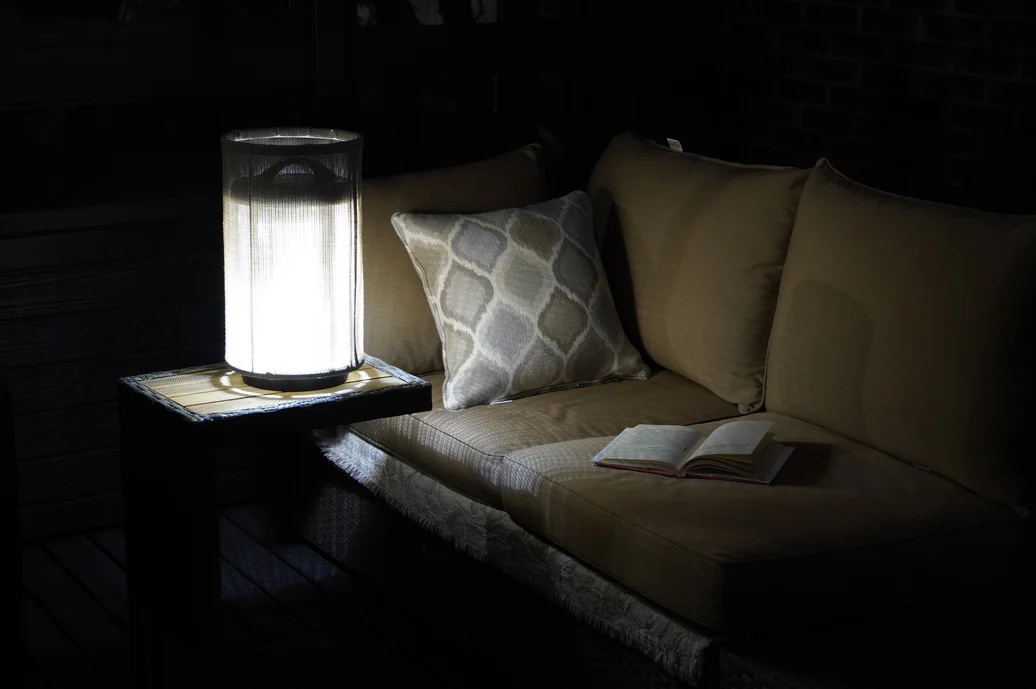
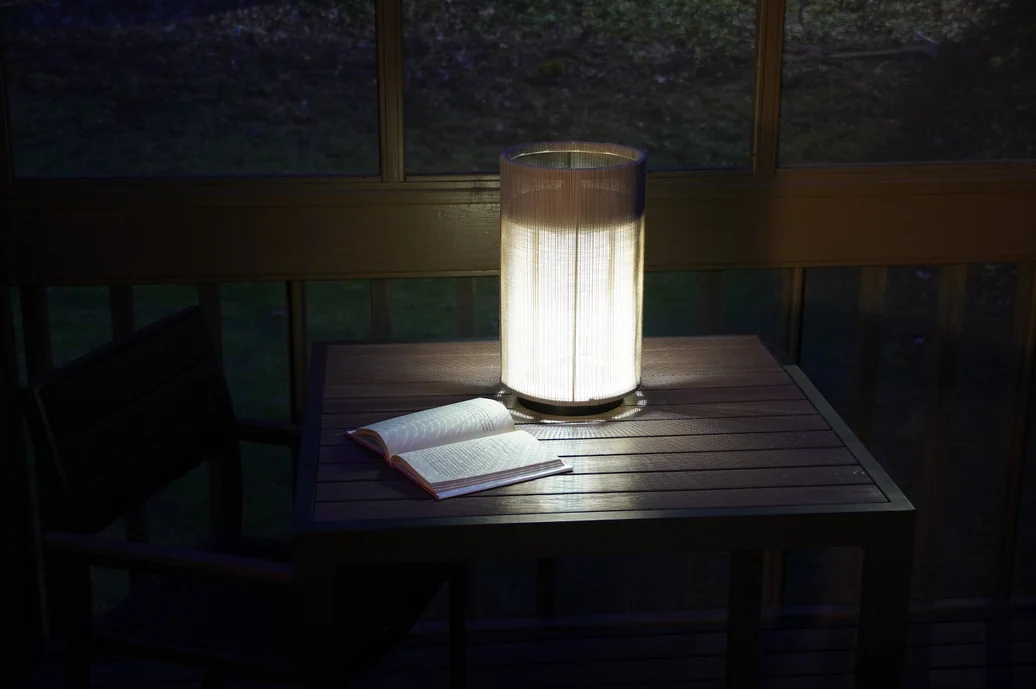
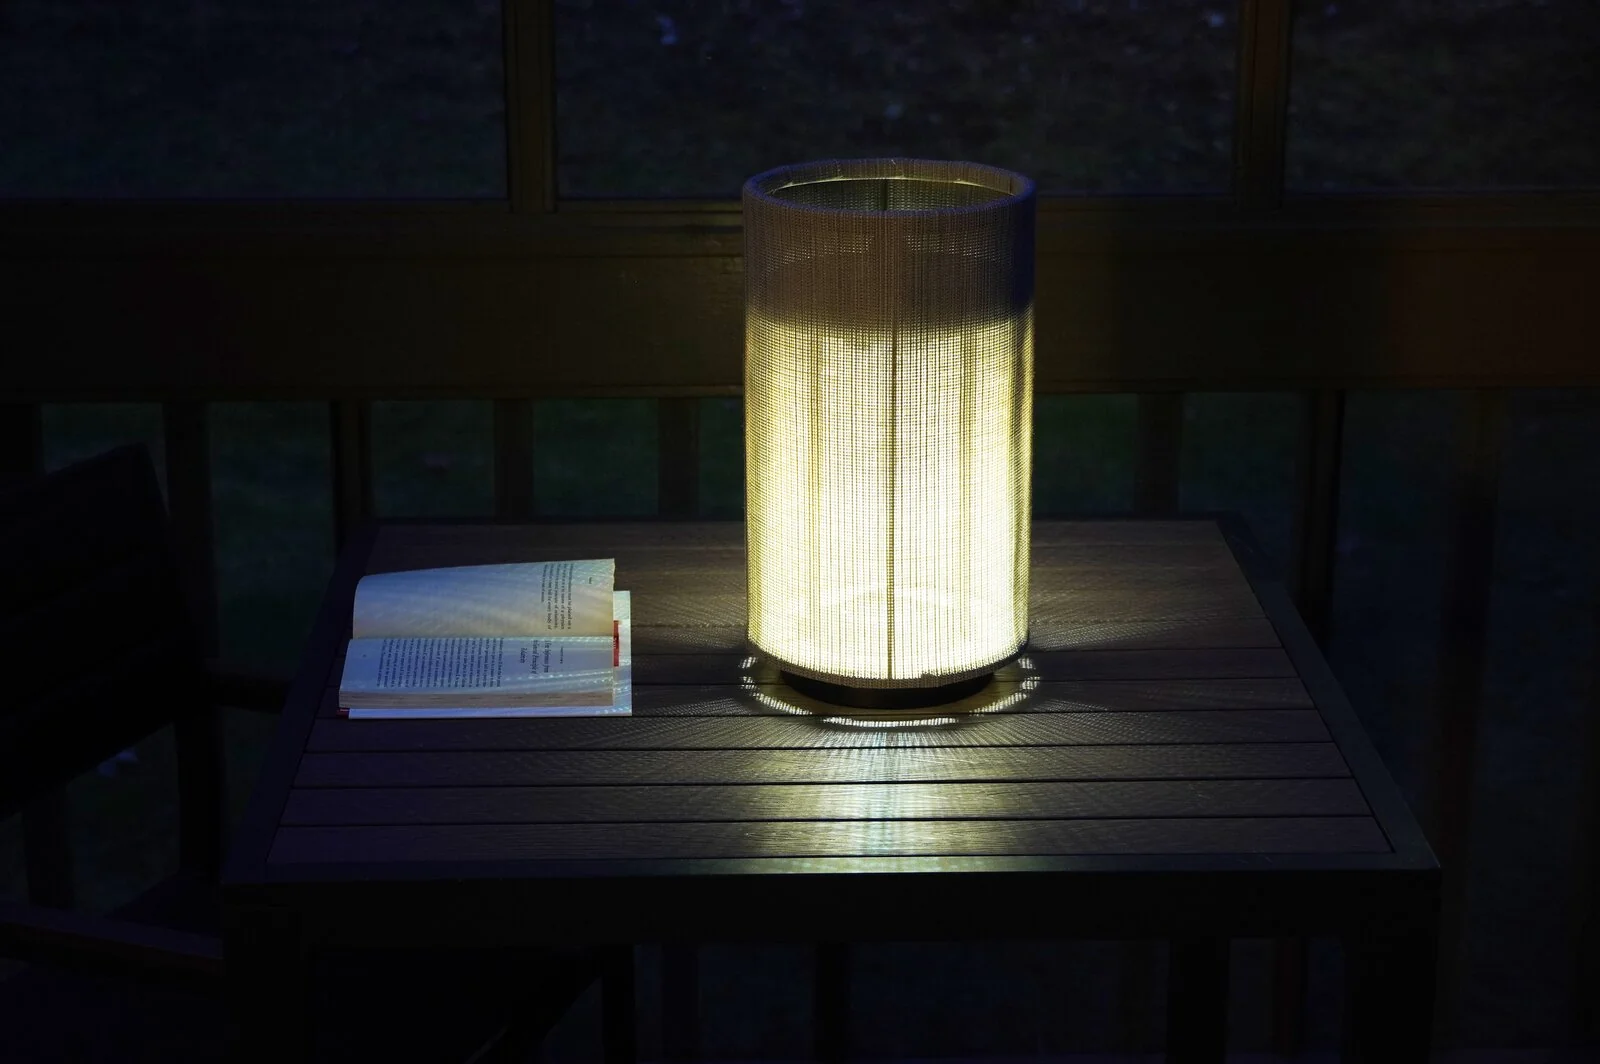
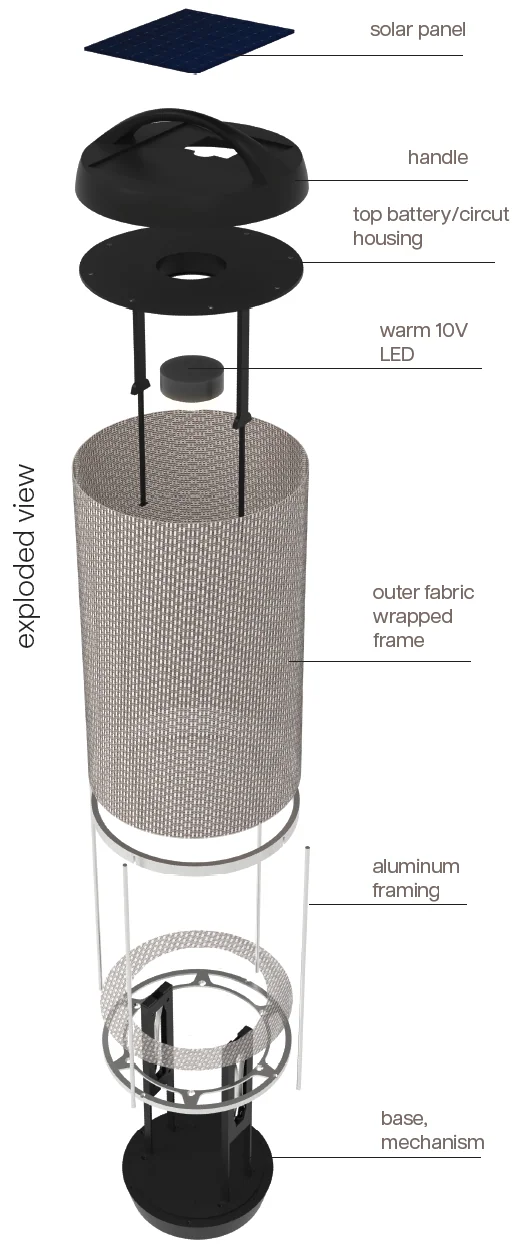
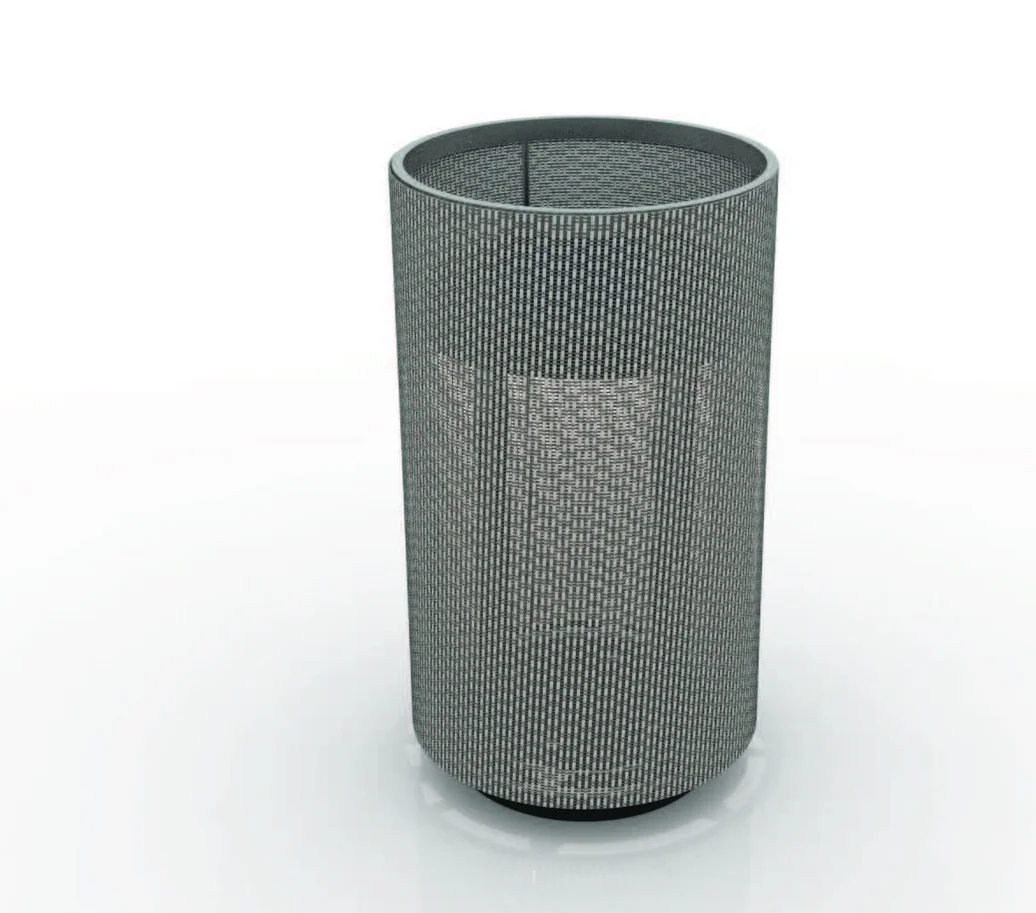
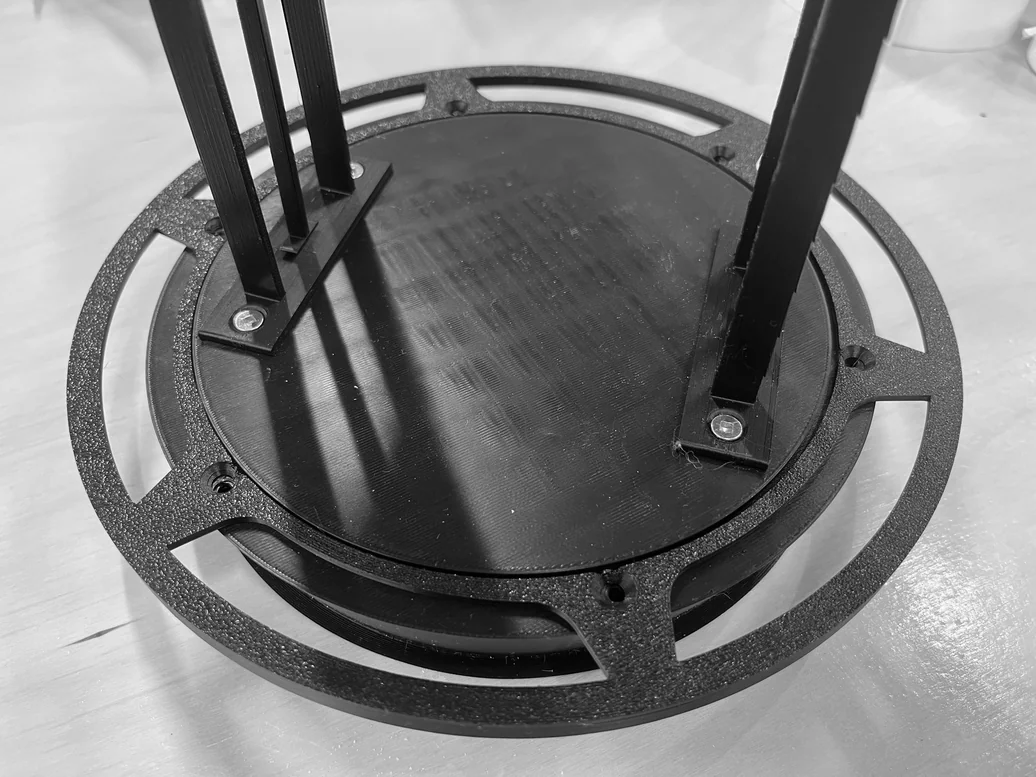
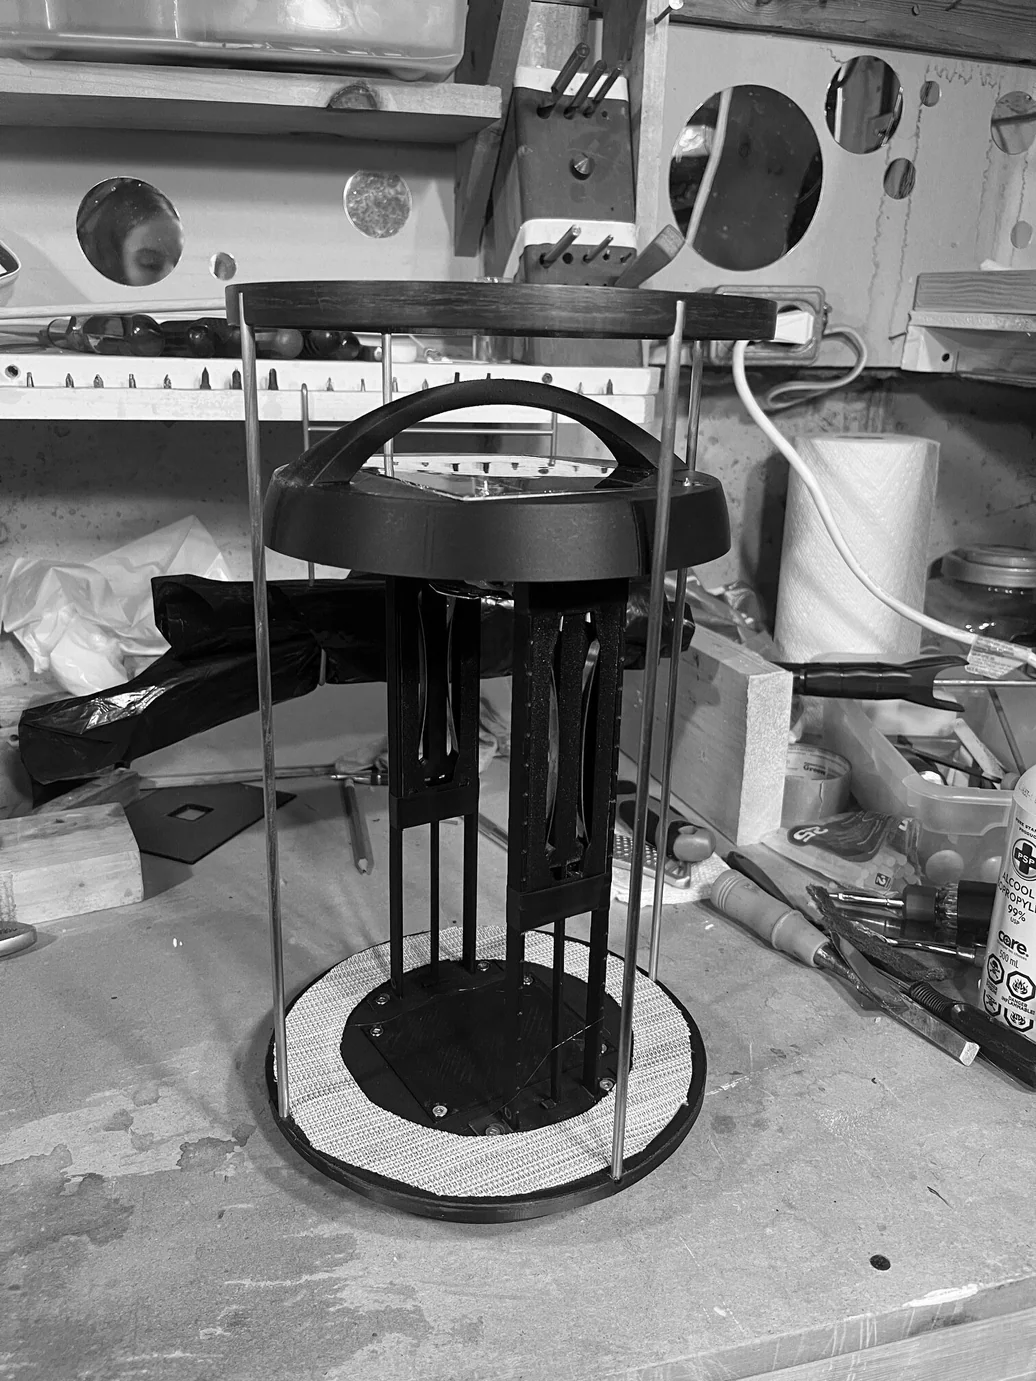
Four aluminium extrusions form the structural spine, connecting a 3D-printed base to a top module that houses all the electronics: 12V 2W solar panel, battery pack, LDR for automatic dusk activation, and a warm LED. Texline F6 woven outdoor fabric wraps the frame, diffusing light without blocking it. A spring-steel mechanism in the top module lets the carry handle lie completely flush when stationary and snap up cleanly when lifted.
Two Configurations
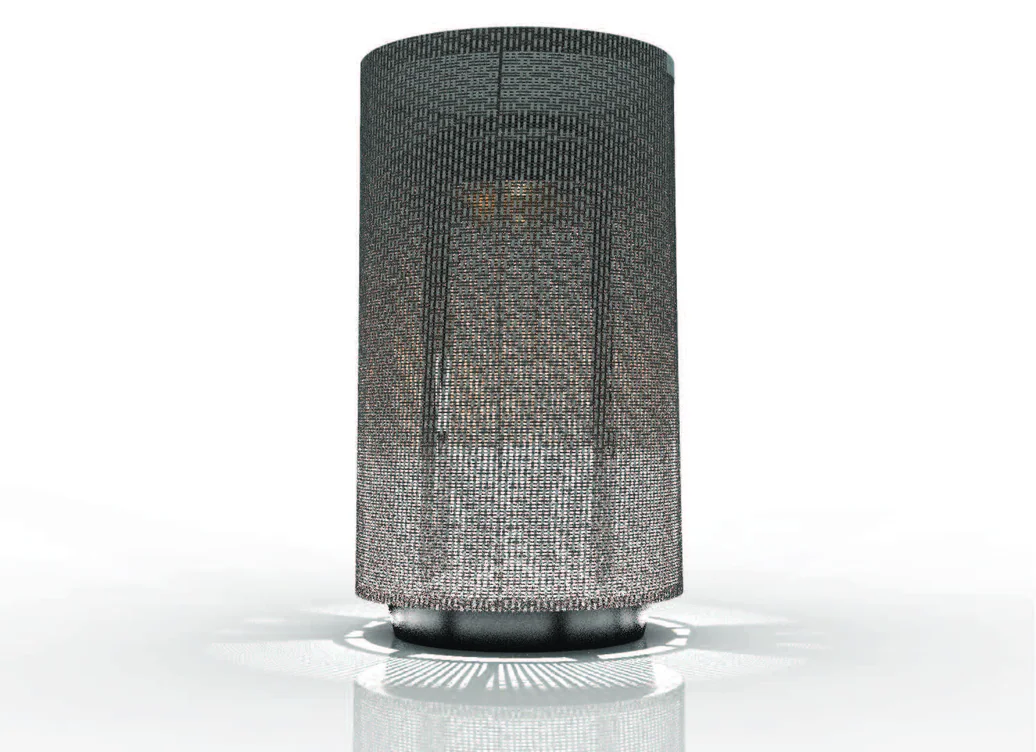
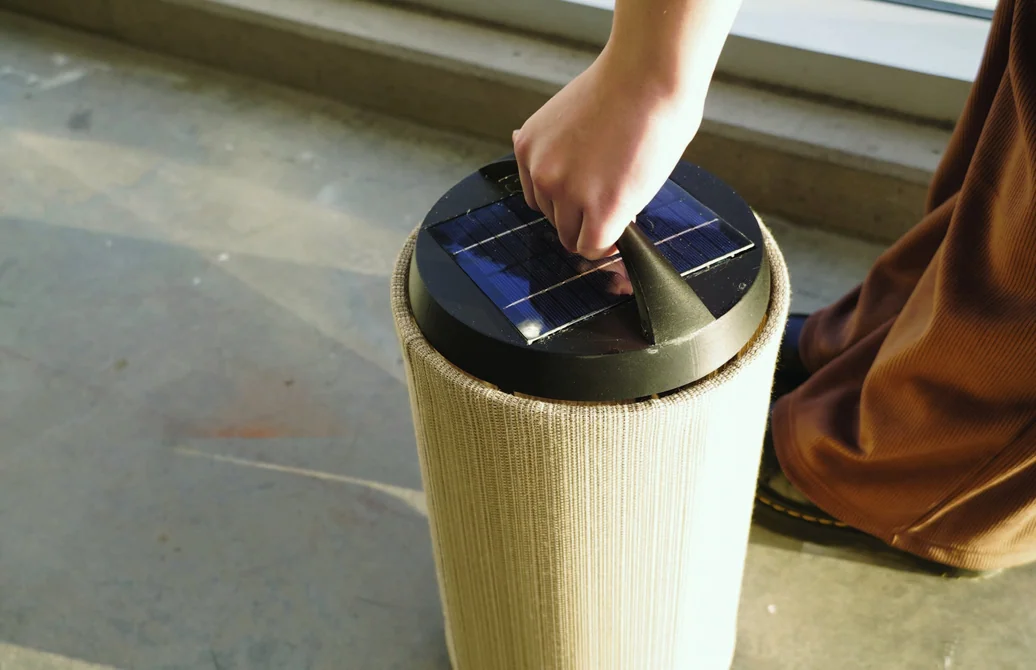
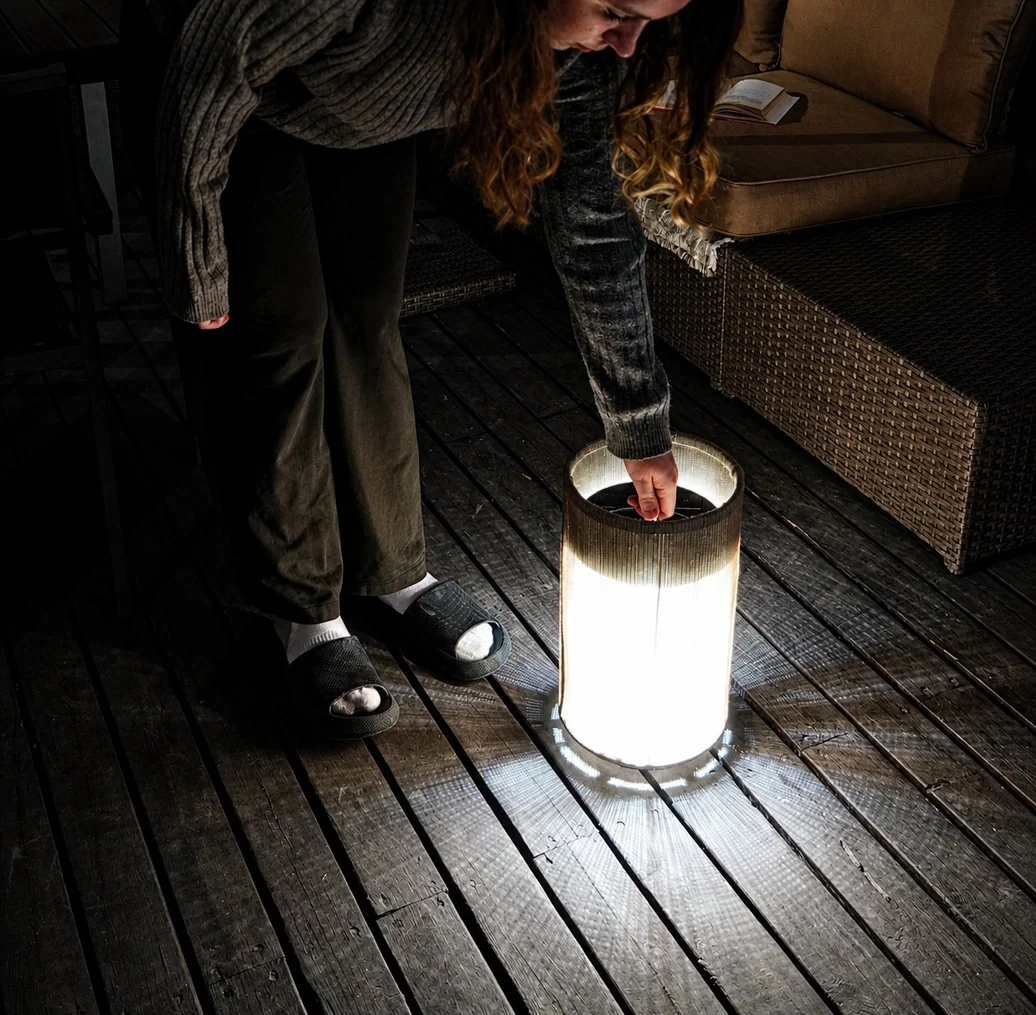
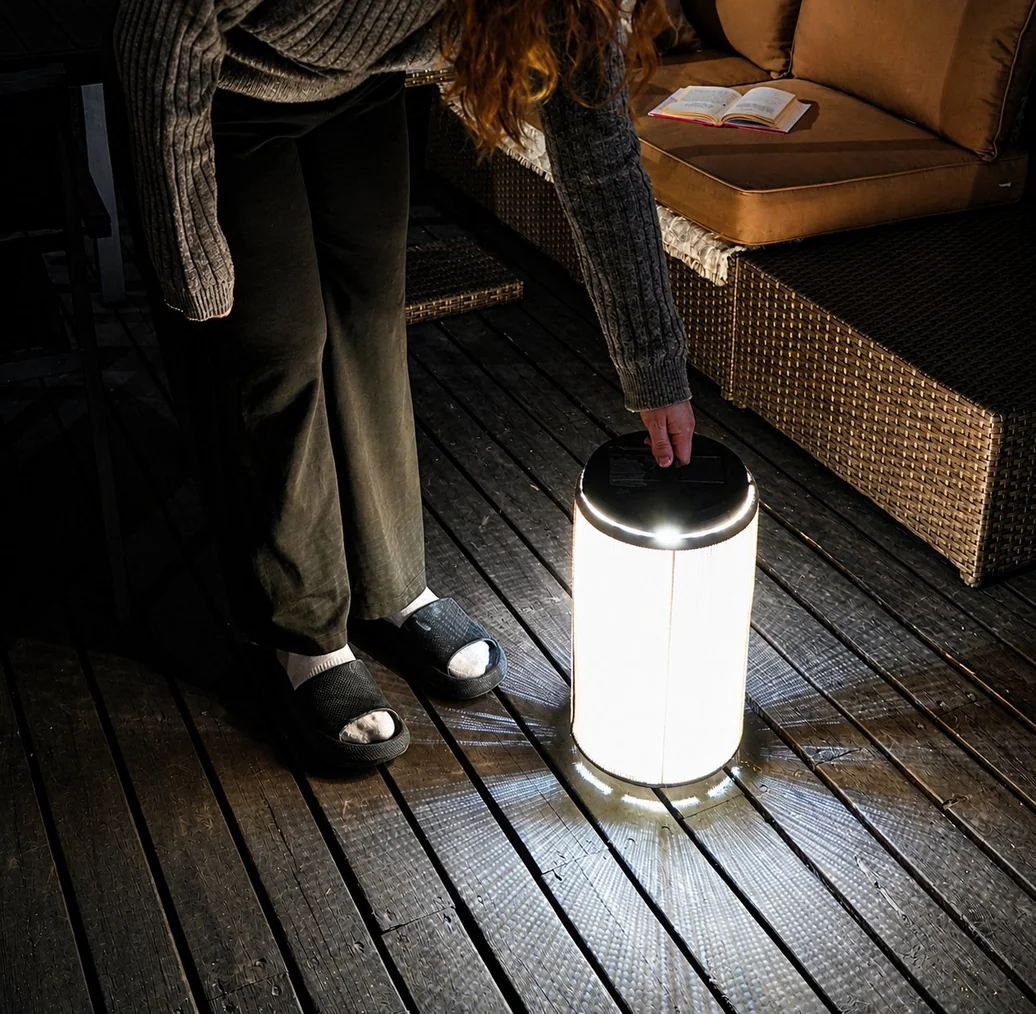
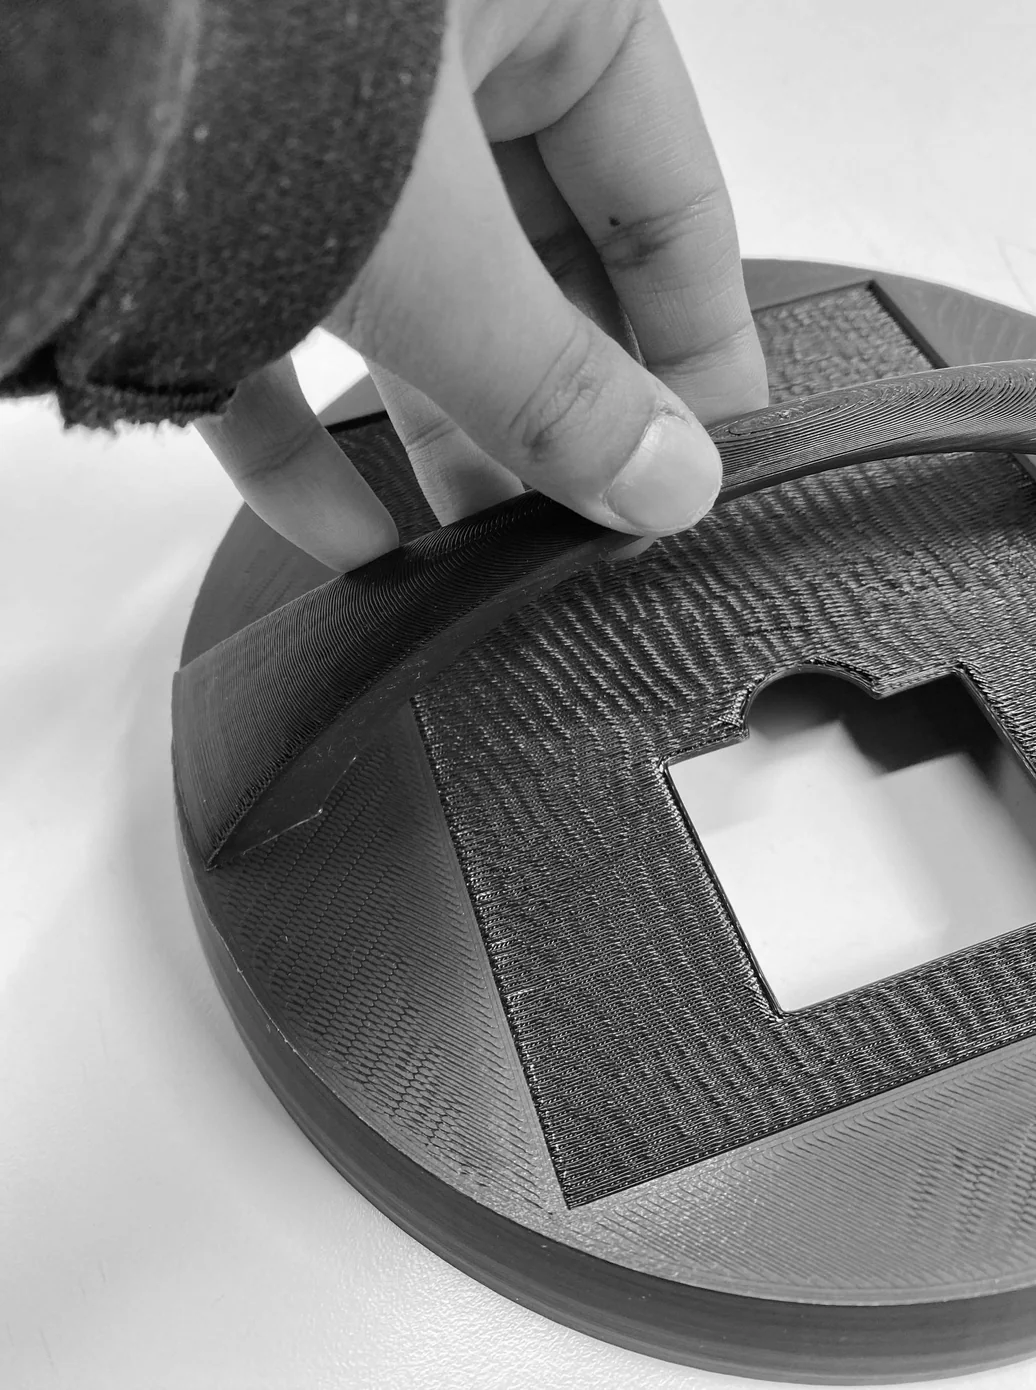
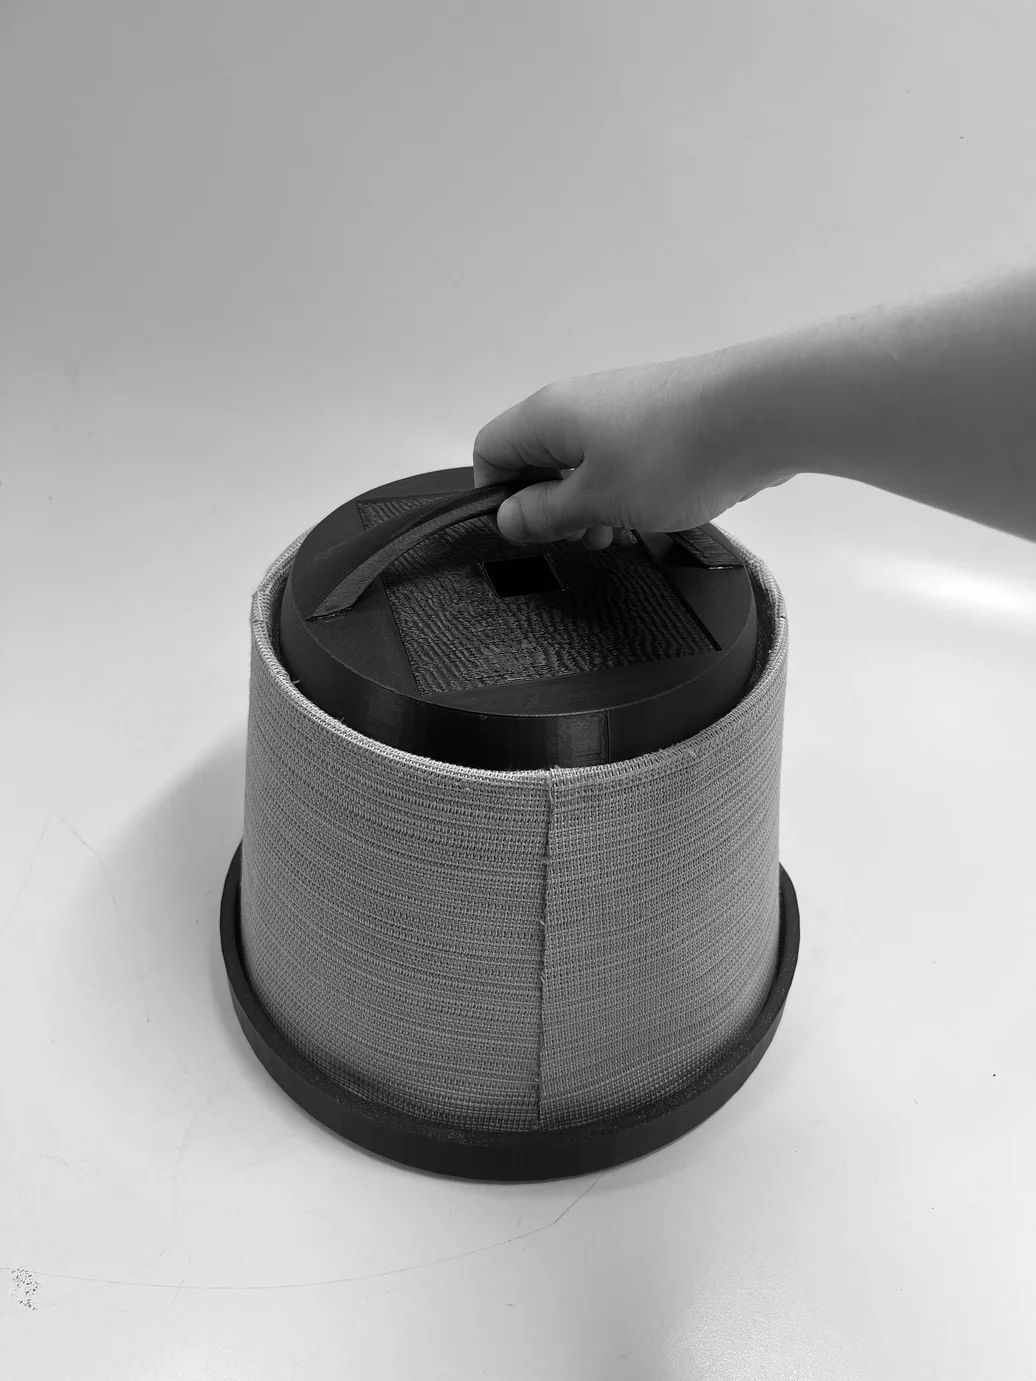
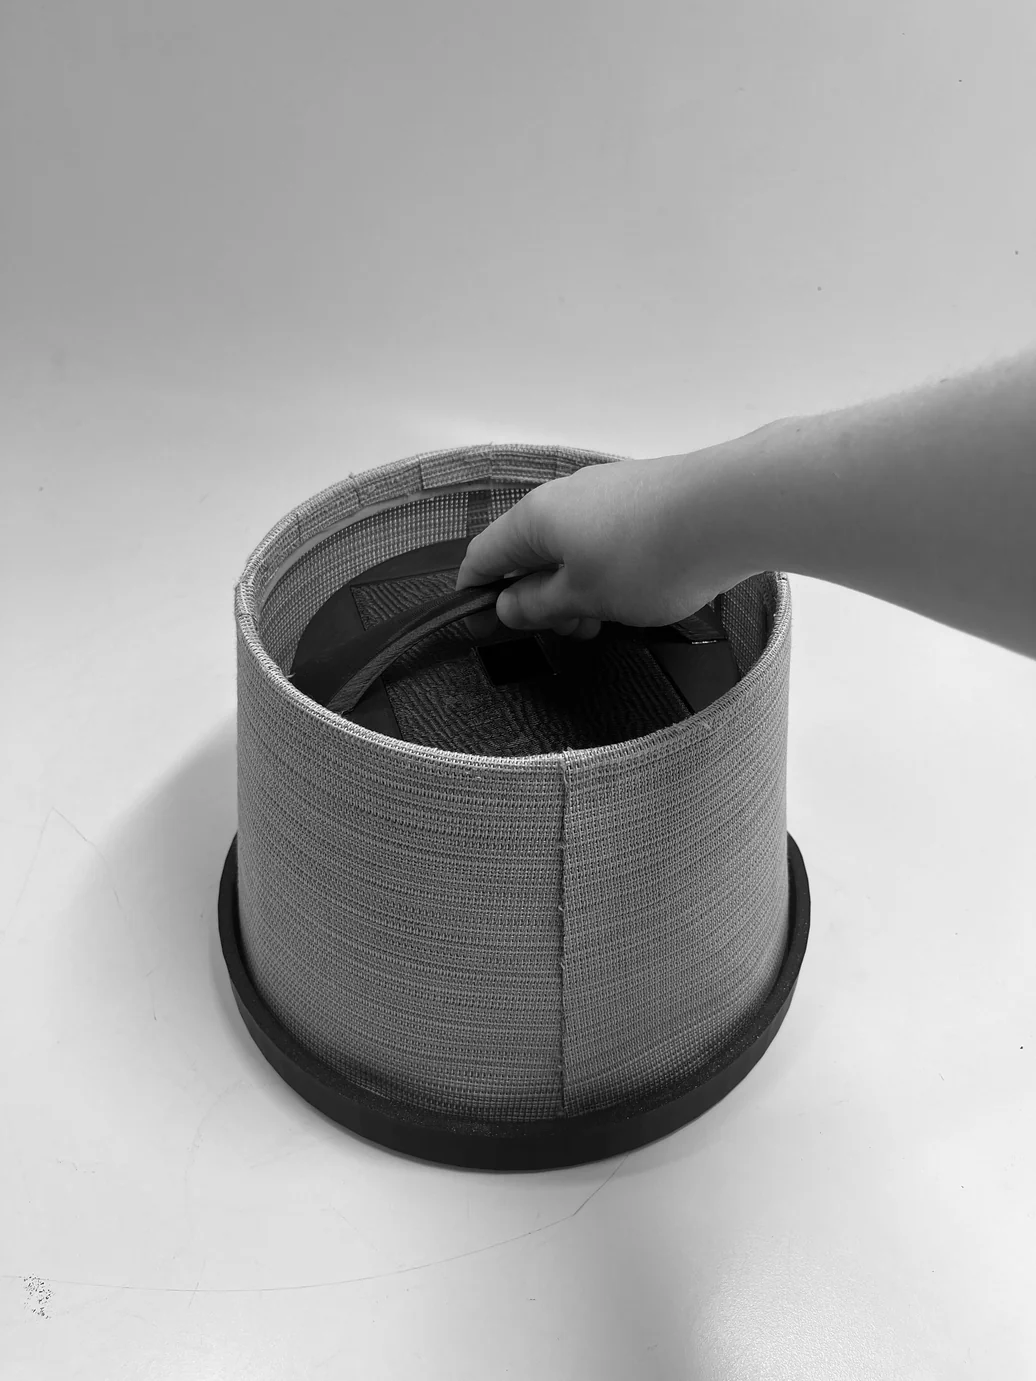
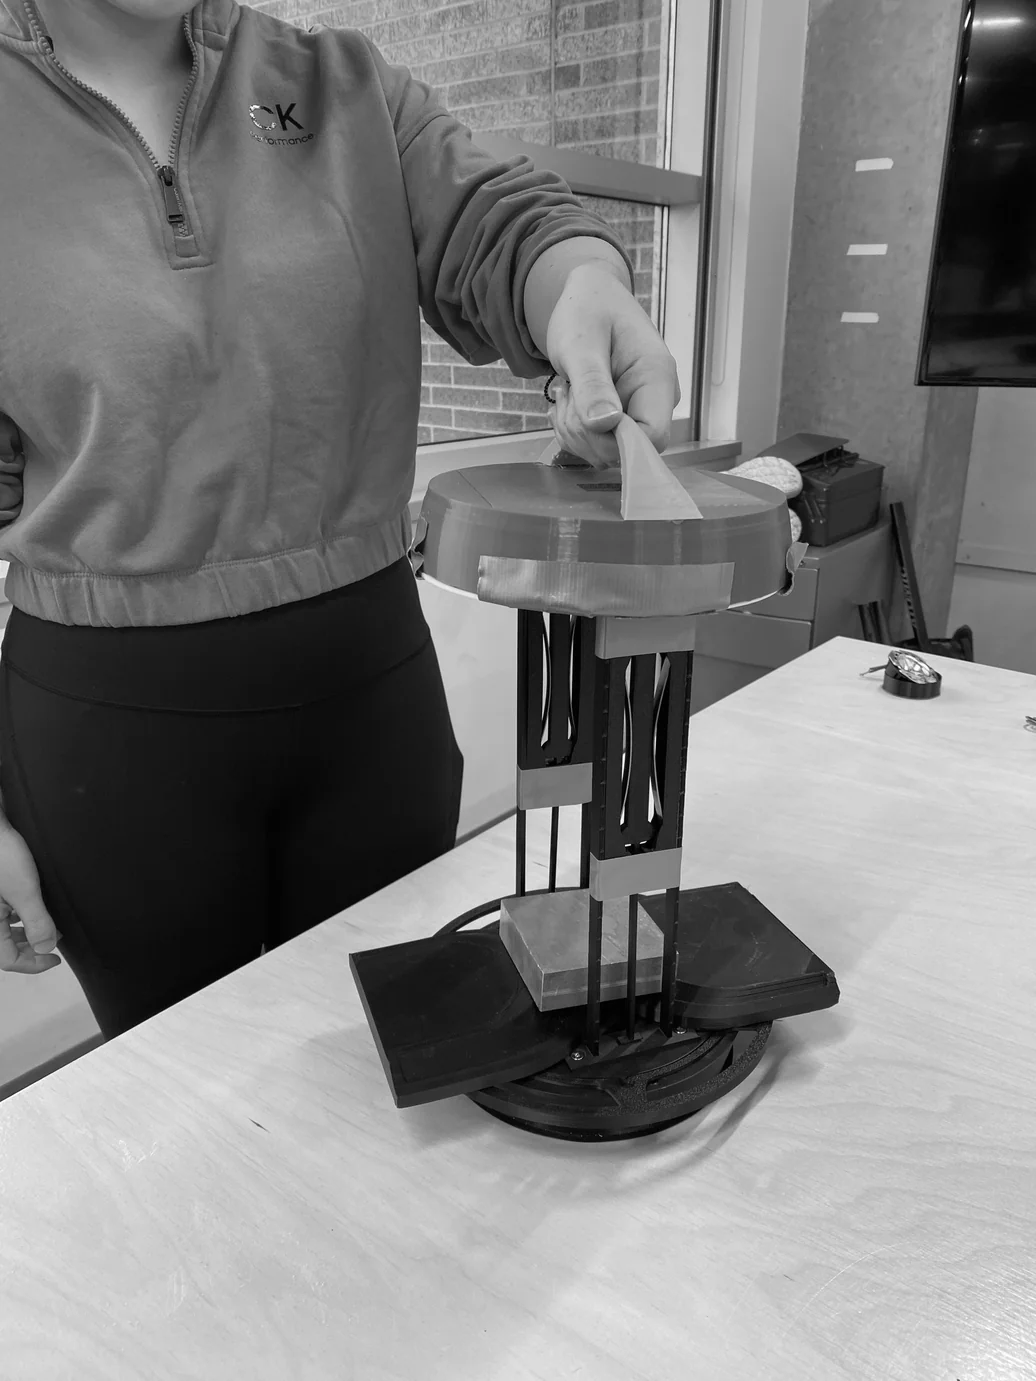
The lamp has two modes. In stationary mode it sits on any flat surface — table, deck, ground — with the handle tucked away inside the top module so the silhouette stays clean. To switch to carry mode, the handle is lifted: a spring-steel mechanism releases it upward, and the entire top module — solar panel, battery, electronics — lifts with it, making the lamp easy to carry with one hand and reposition anywhere.
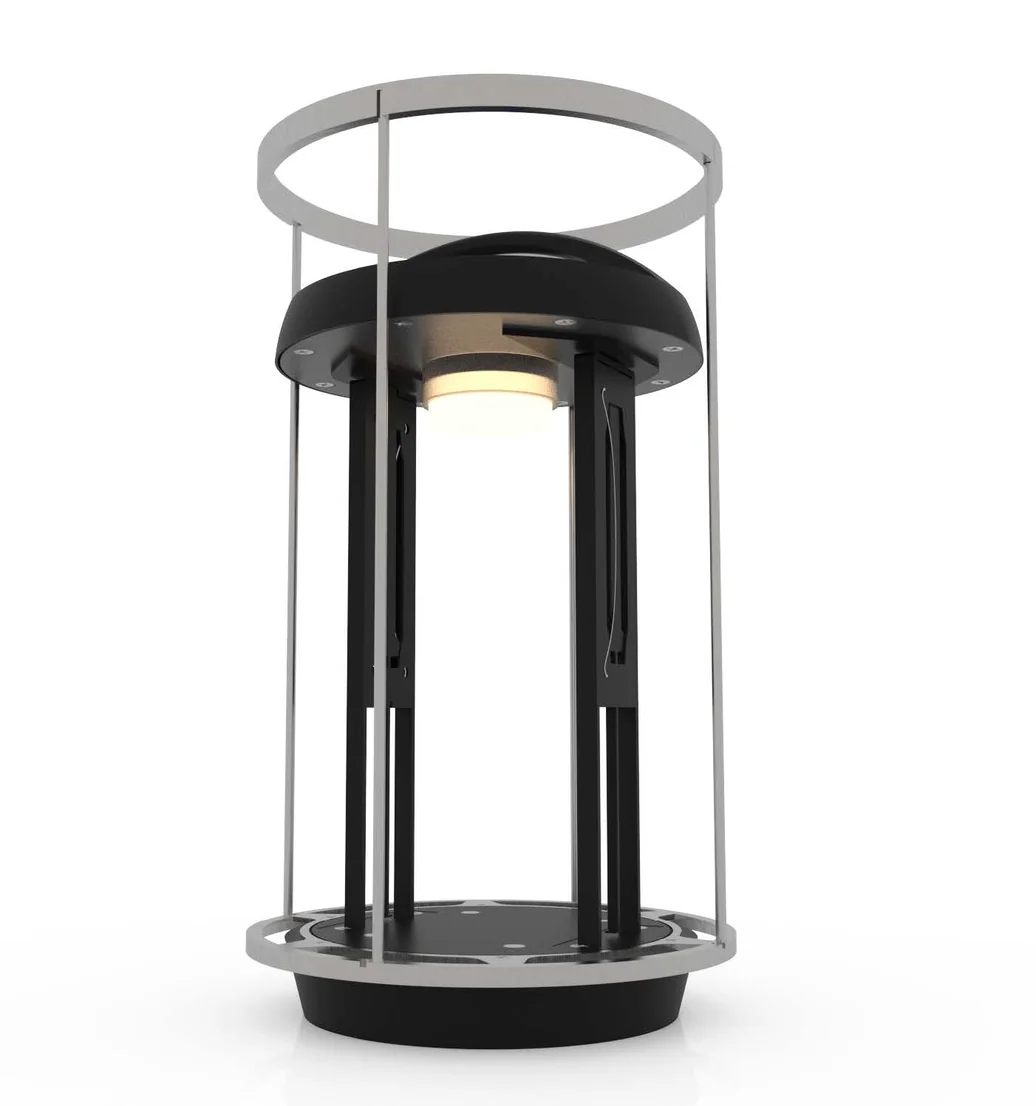
Down — stationary mode
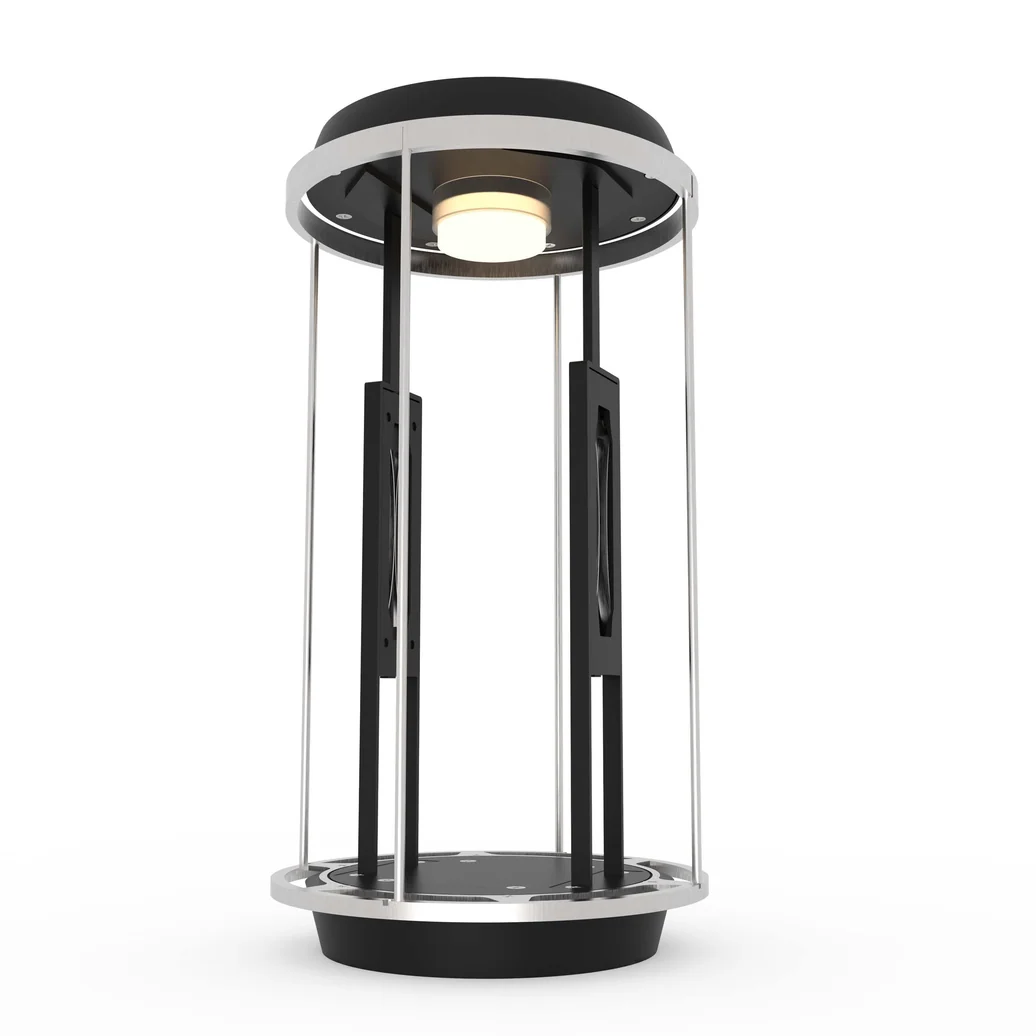
Up — carry mode
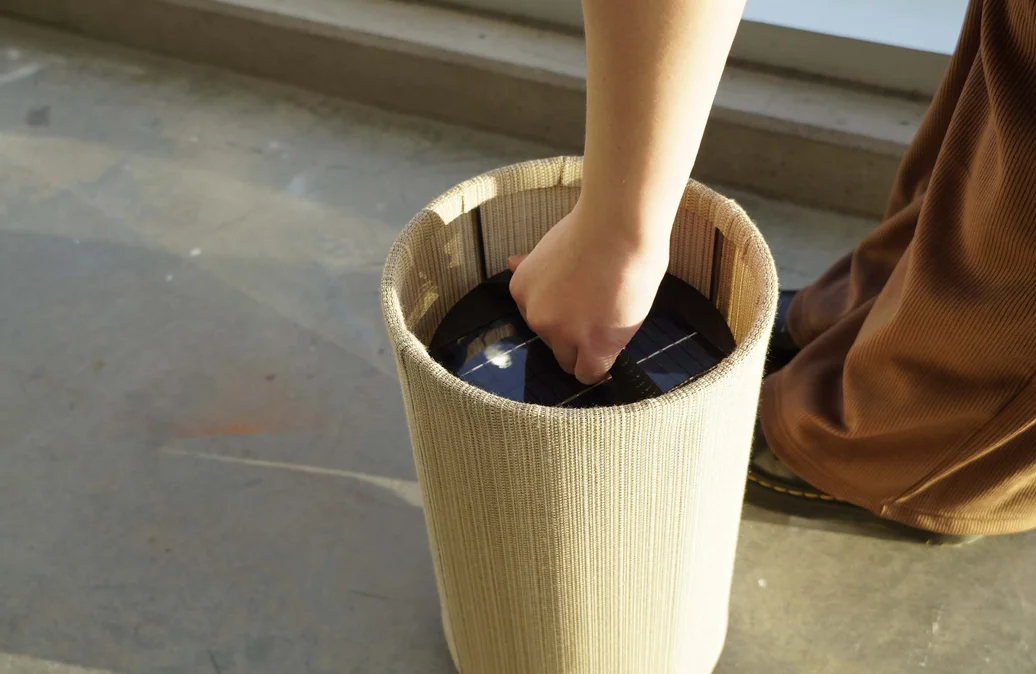
Illuminated
In Motion
The handle transition — stationary to carry mode
Prototyping
Phase 1 — Form, Fabric & Circuit Exploration
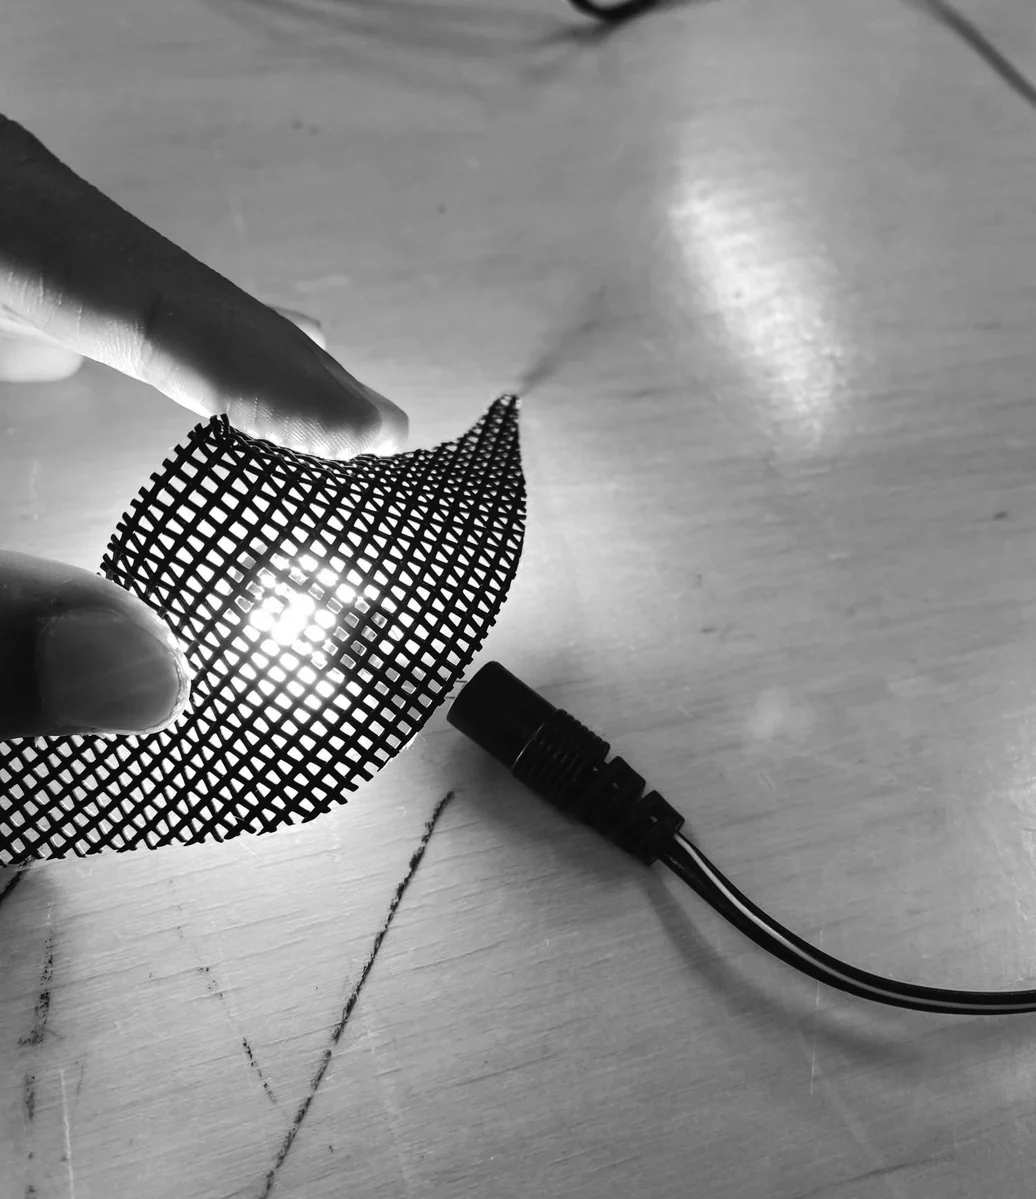
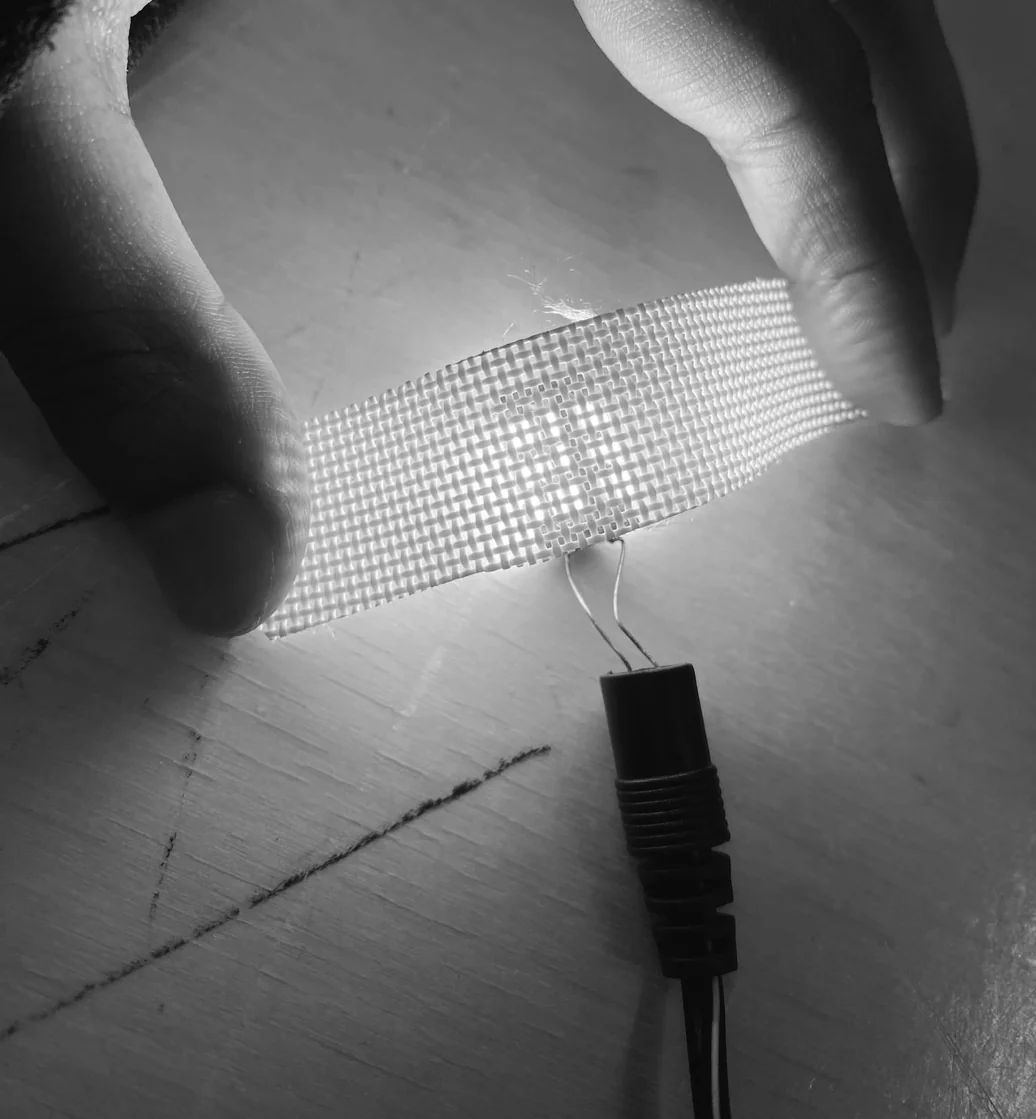
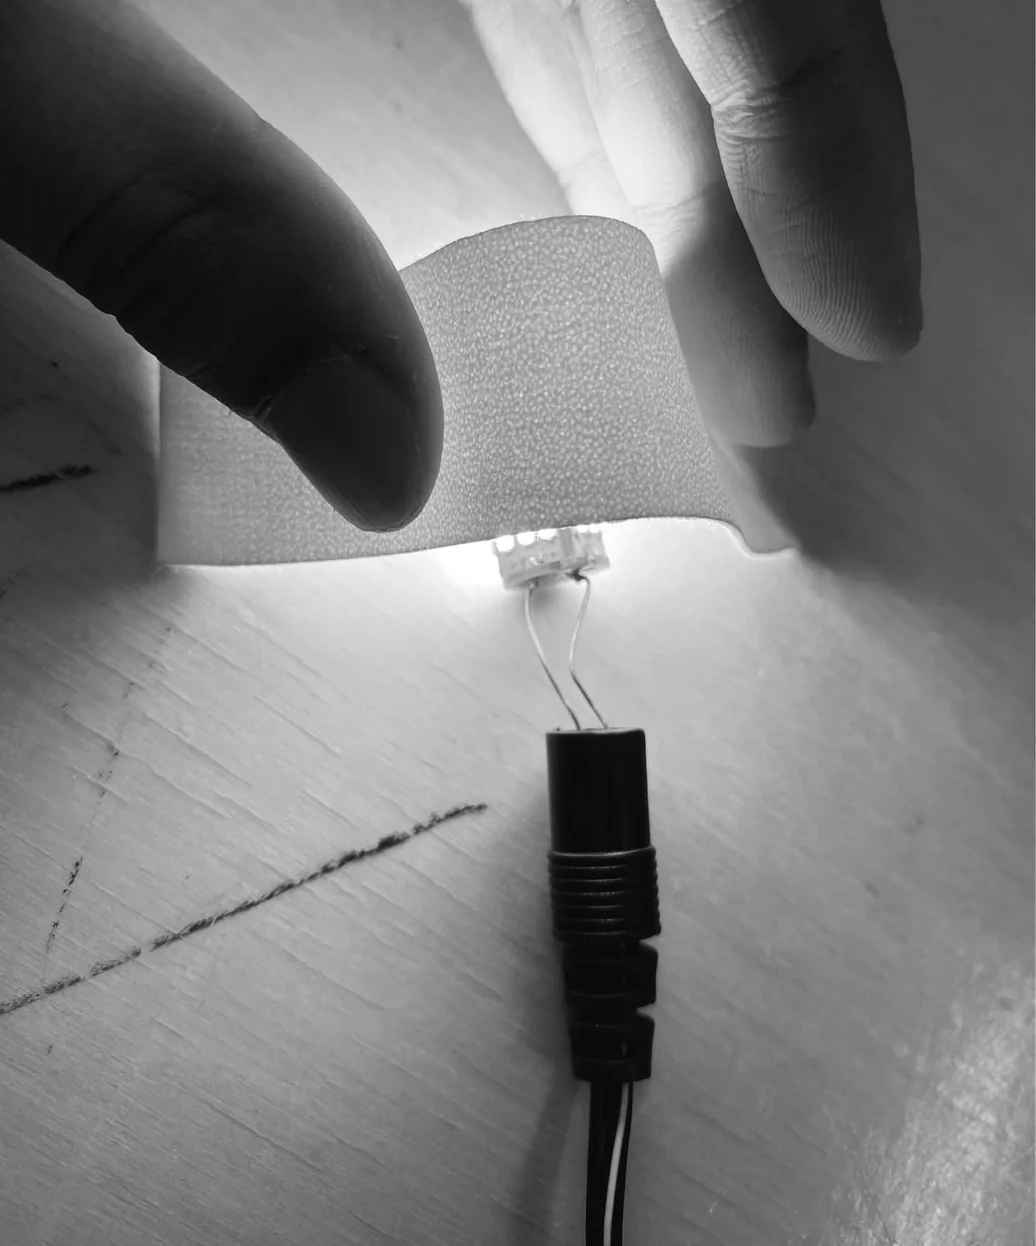
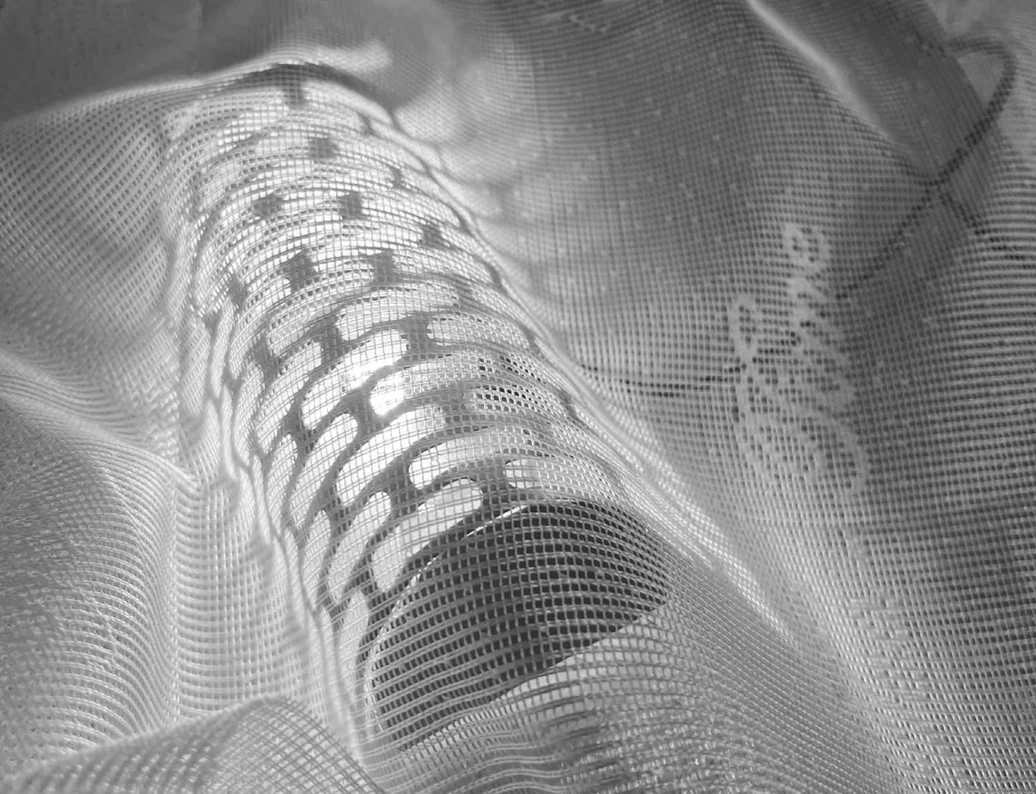
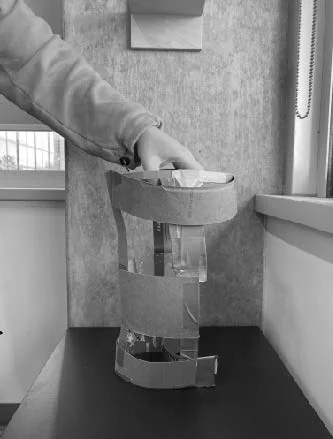
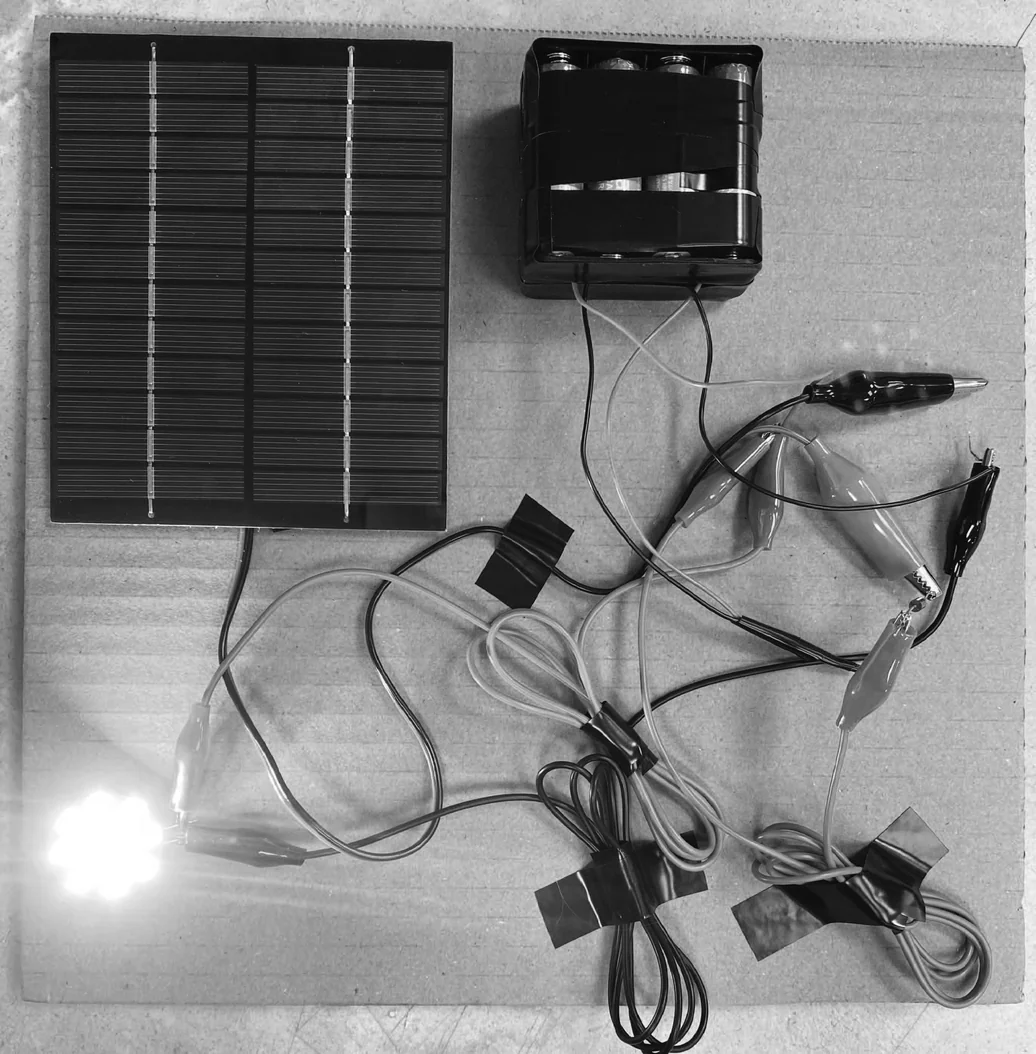
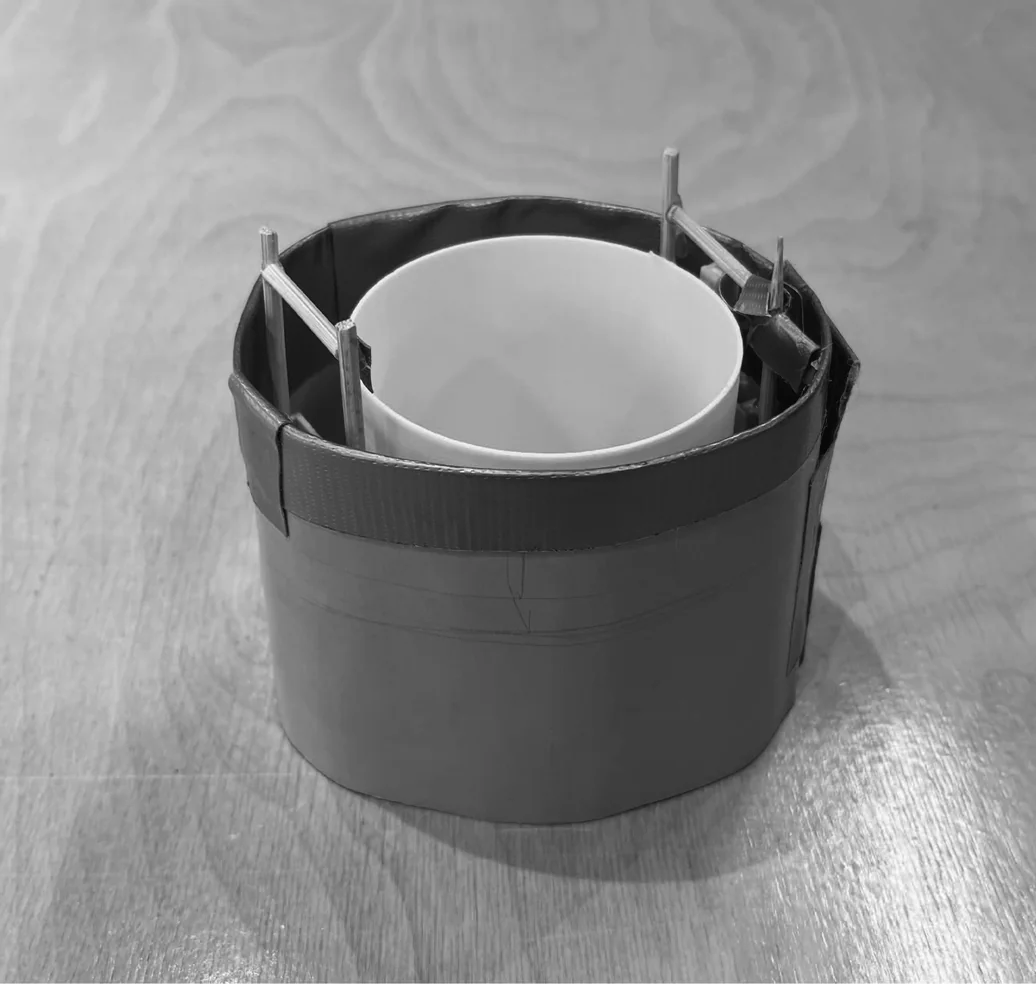
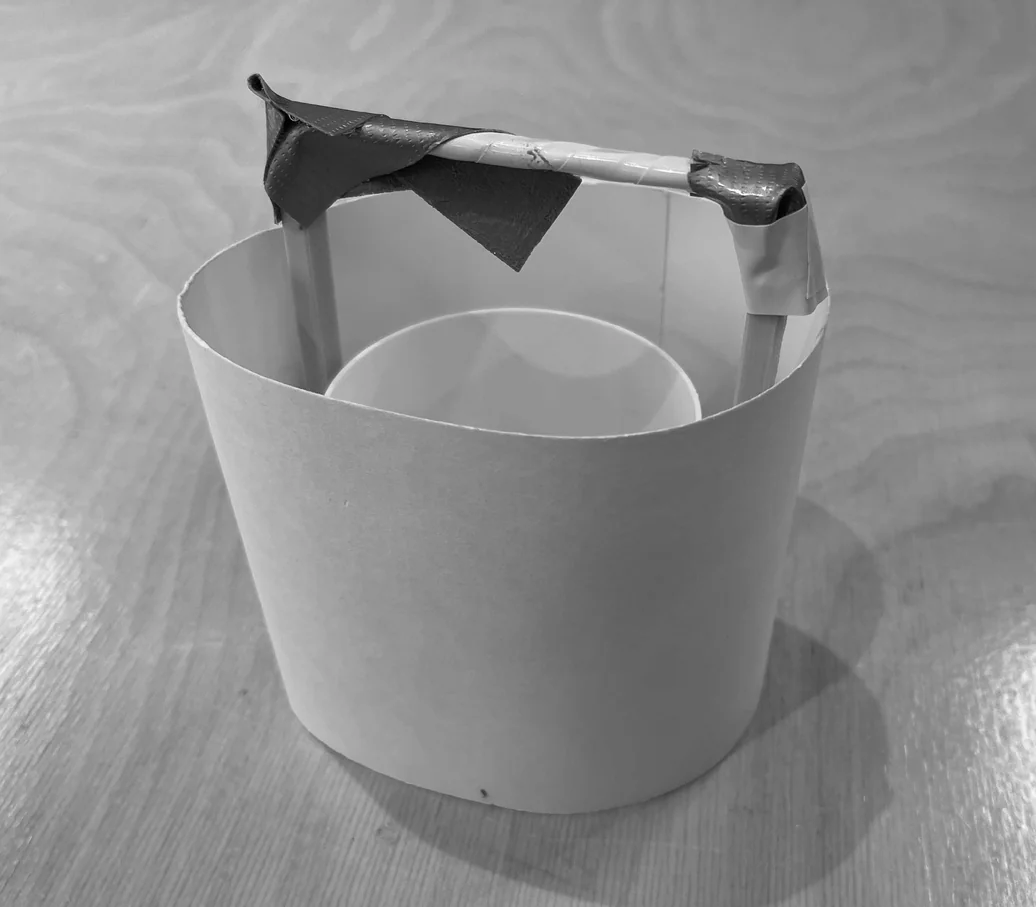
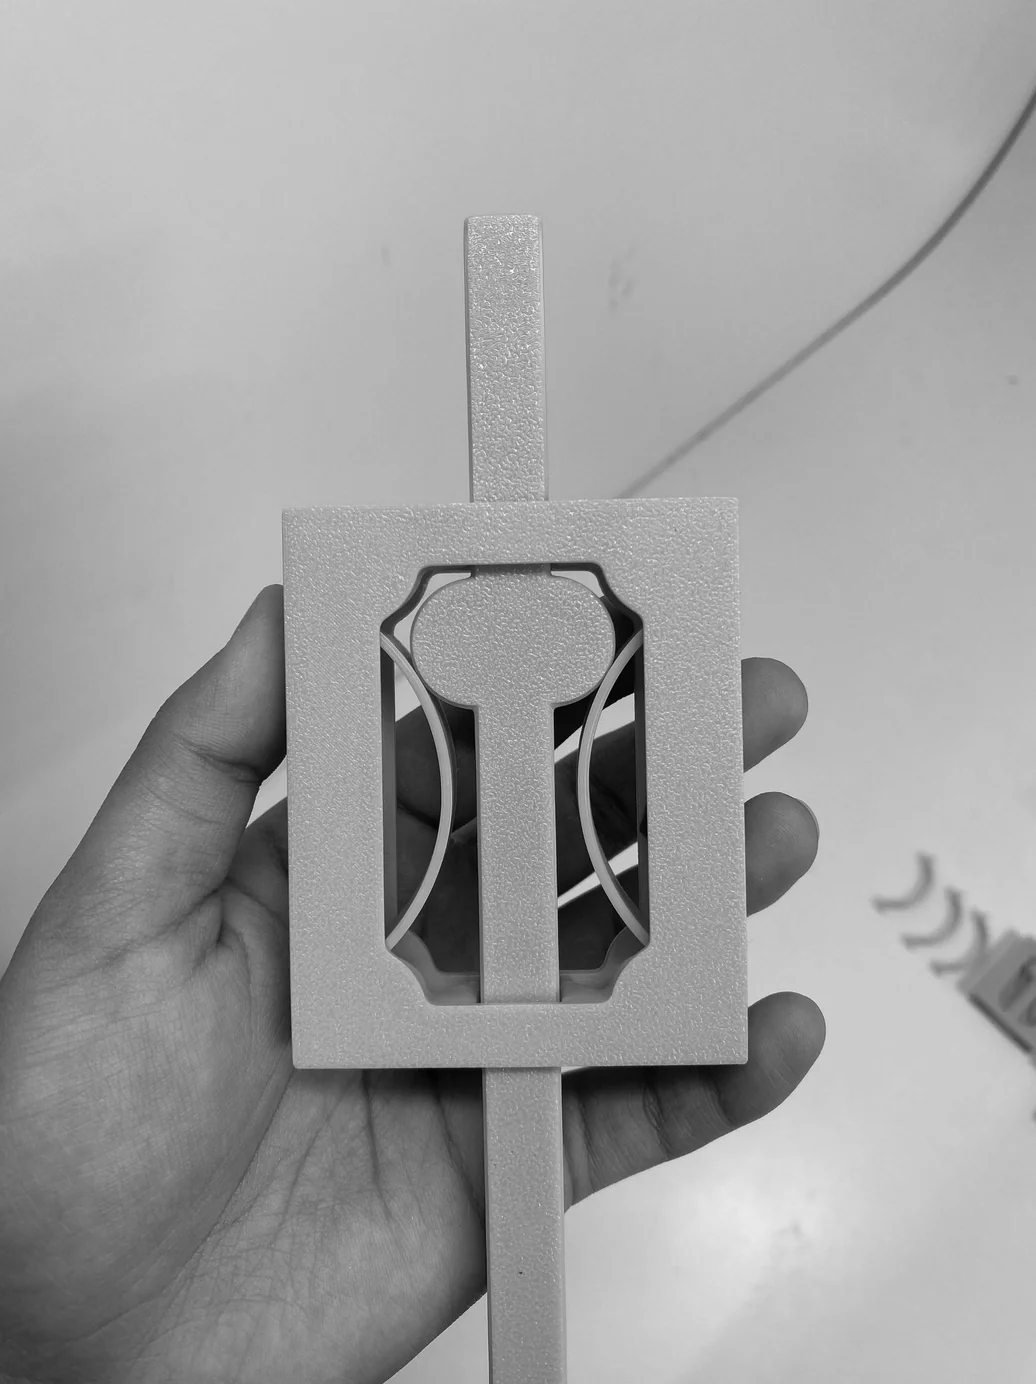
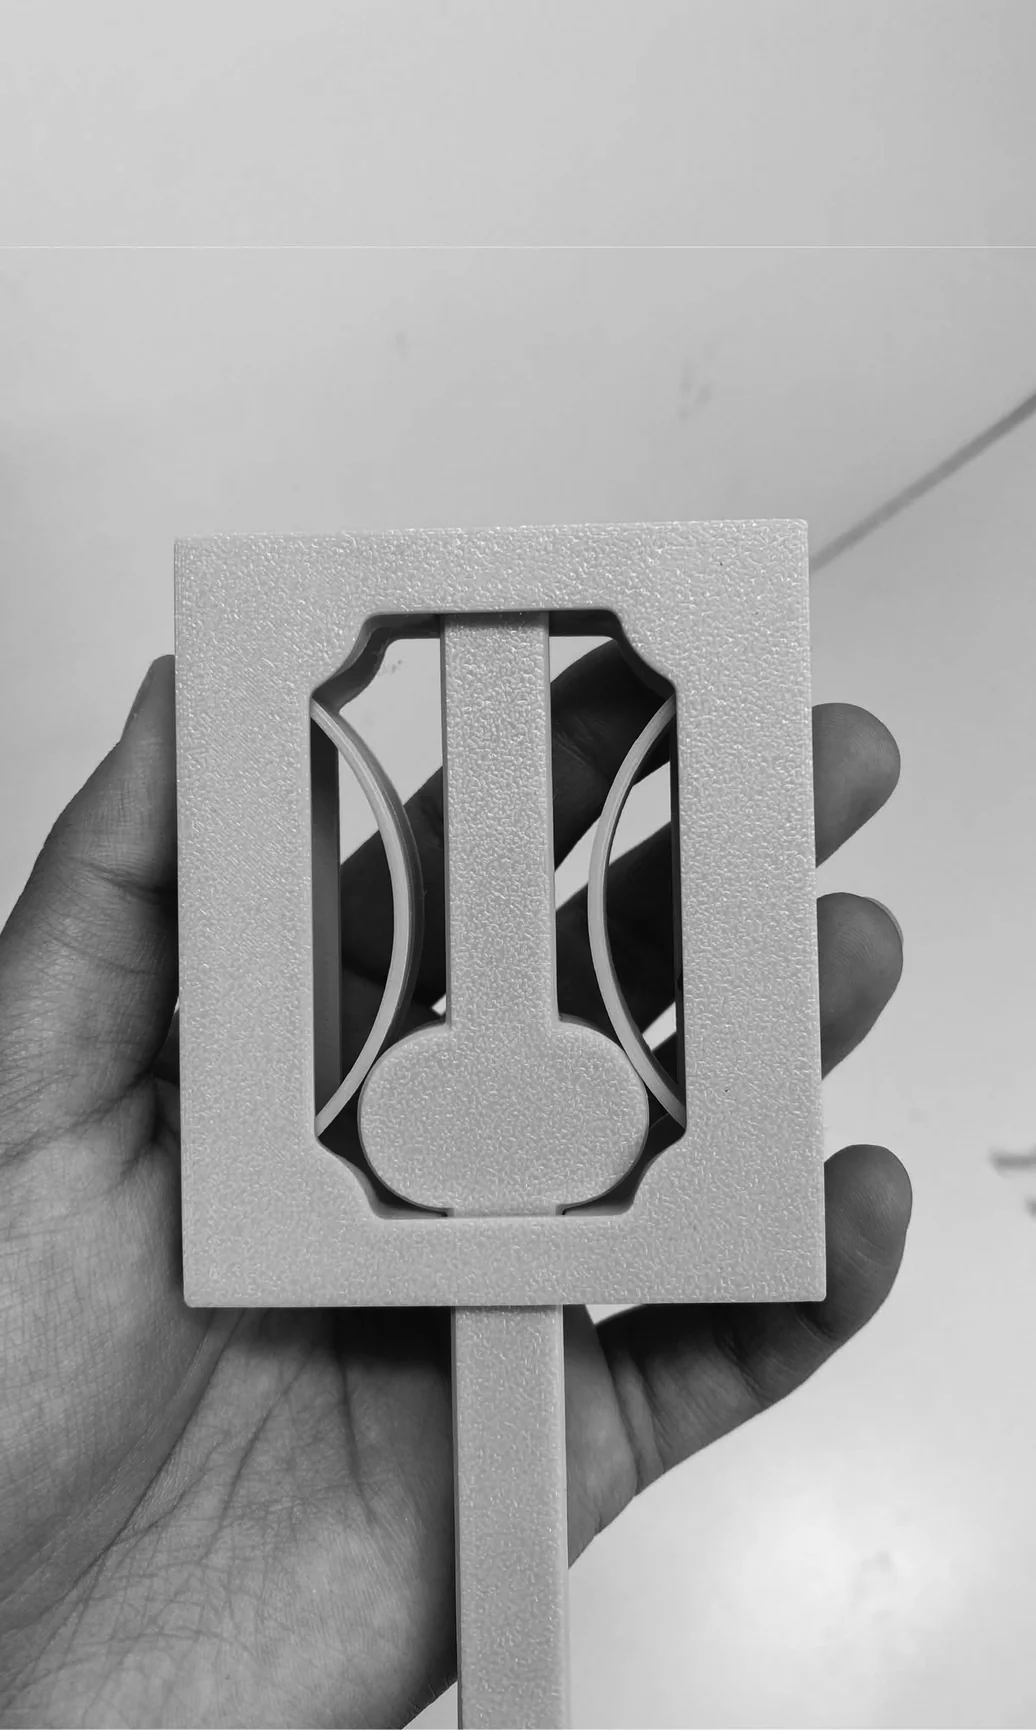
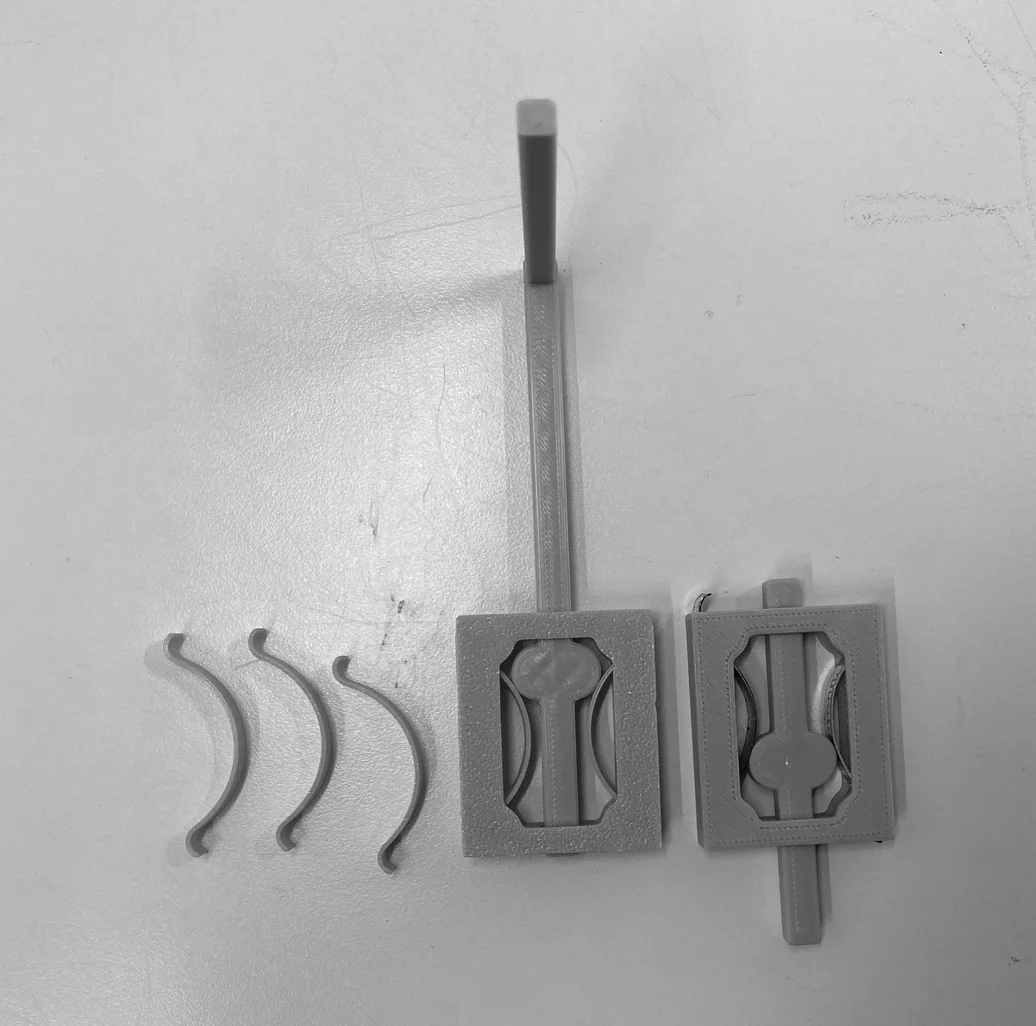
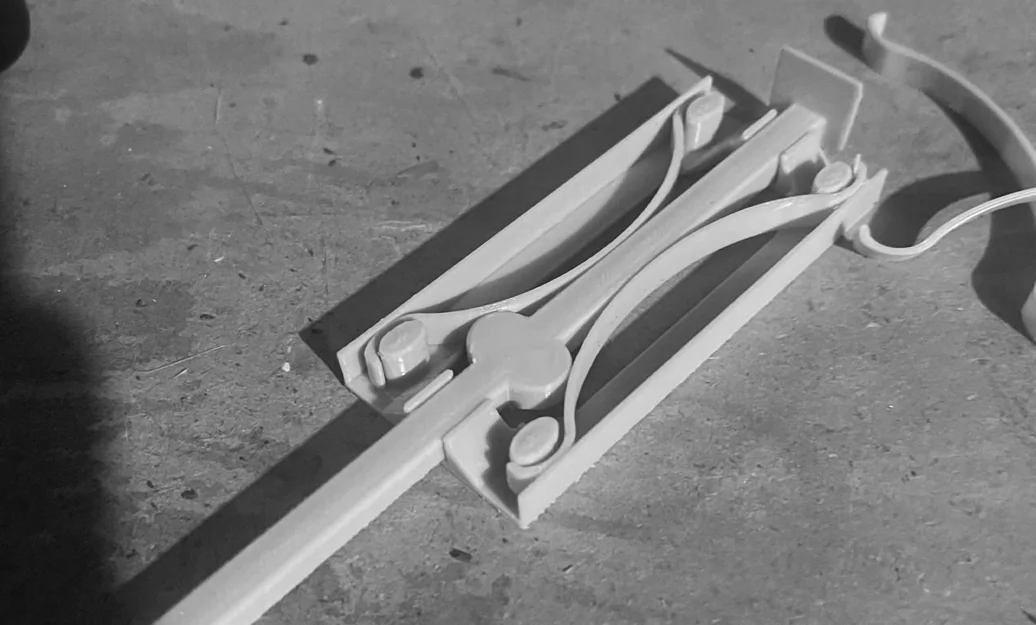
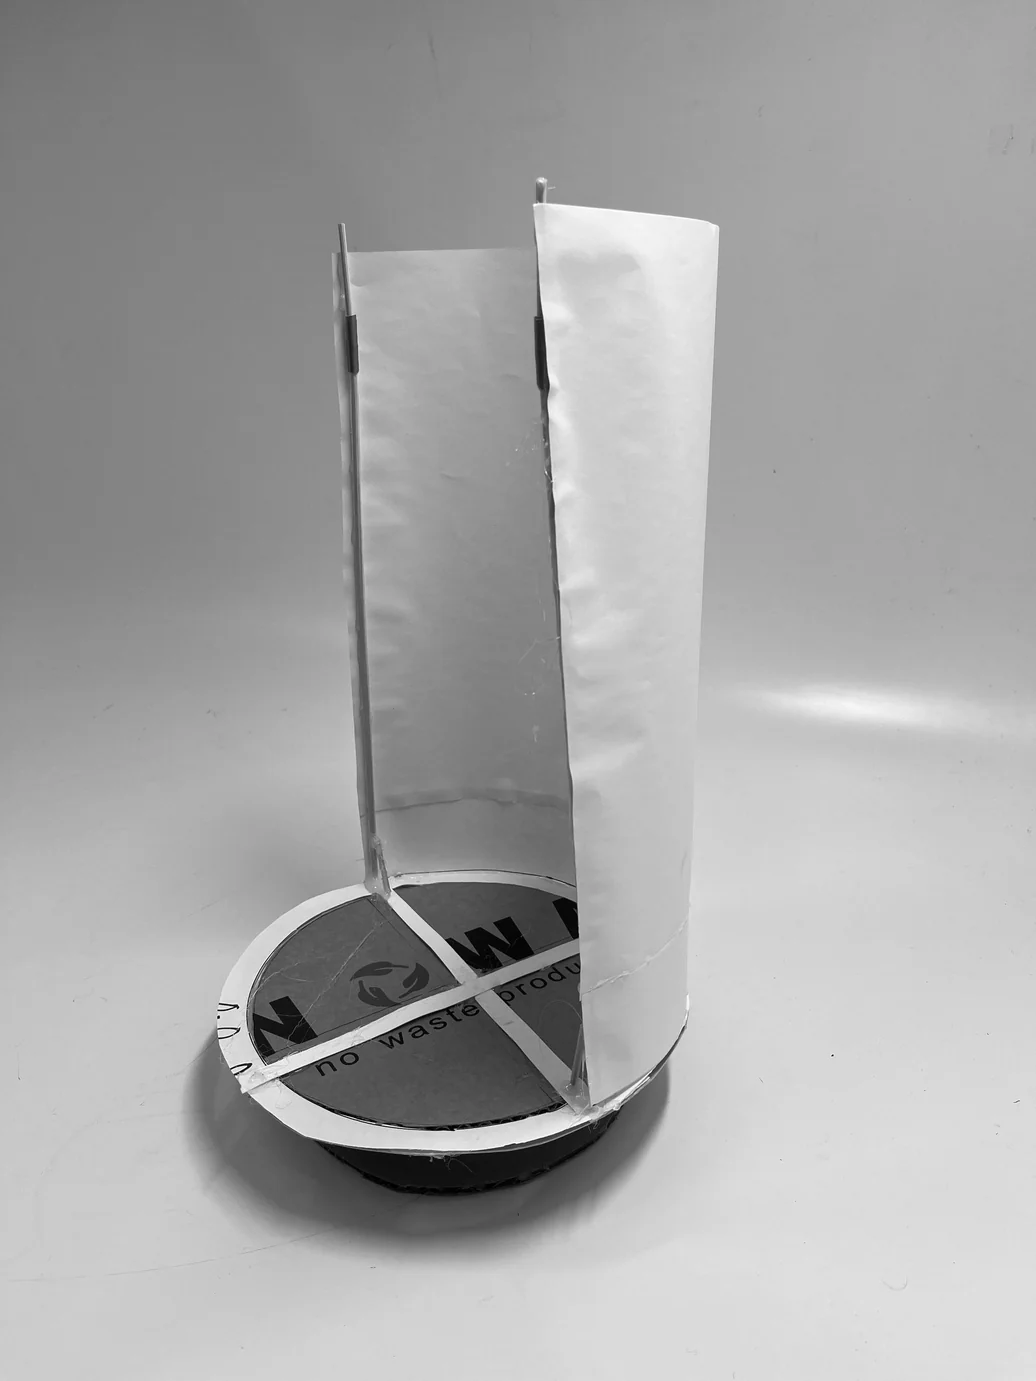
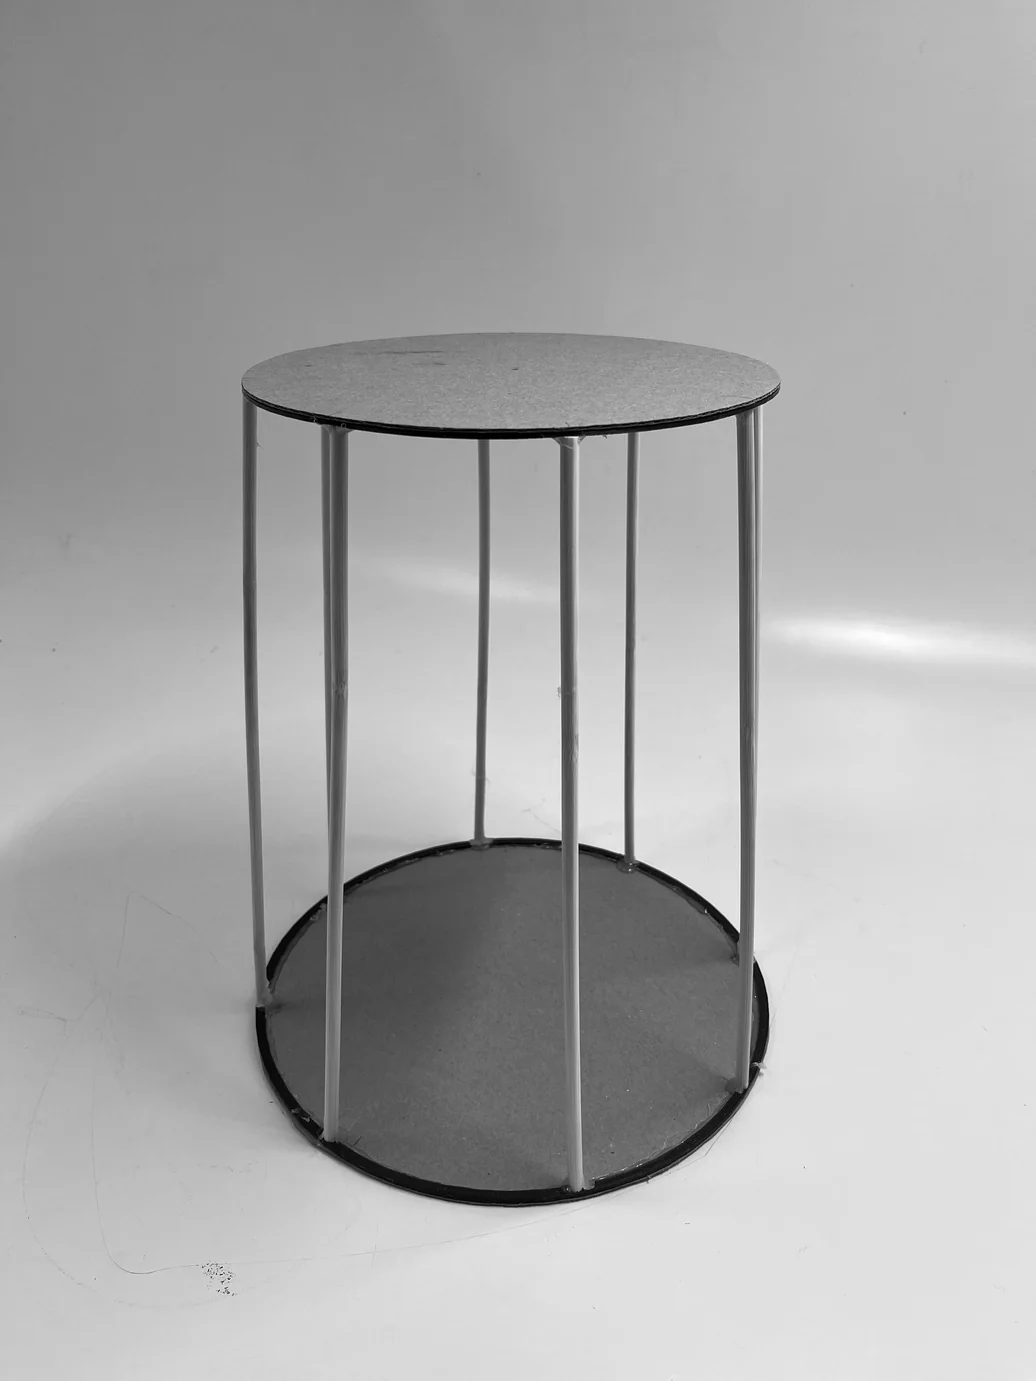
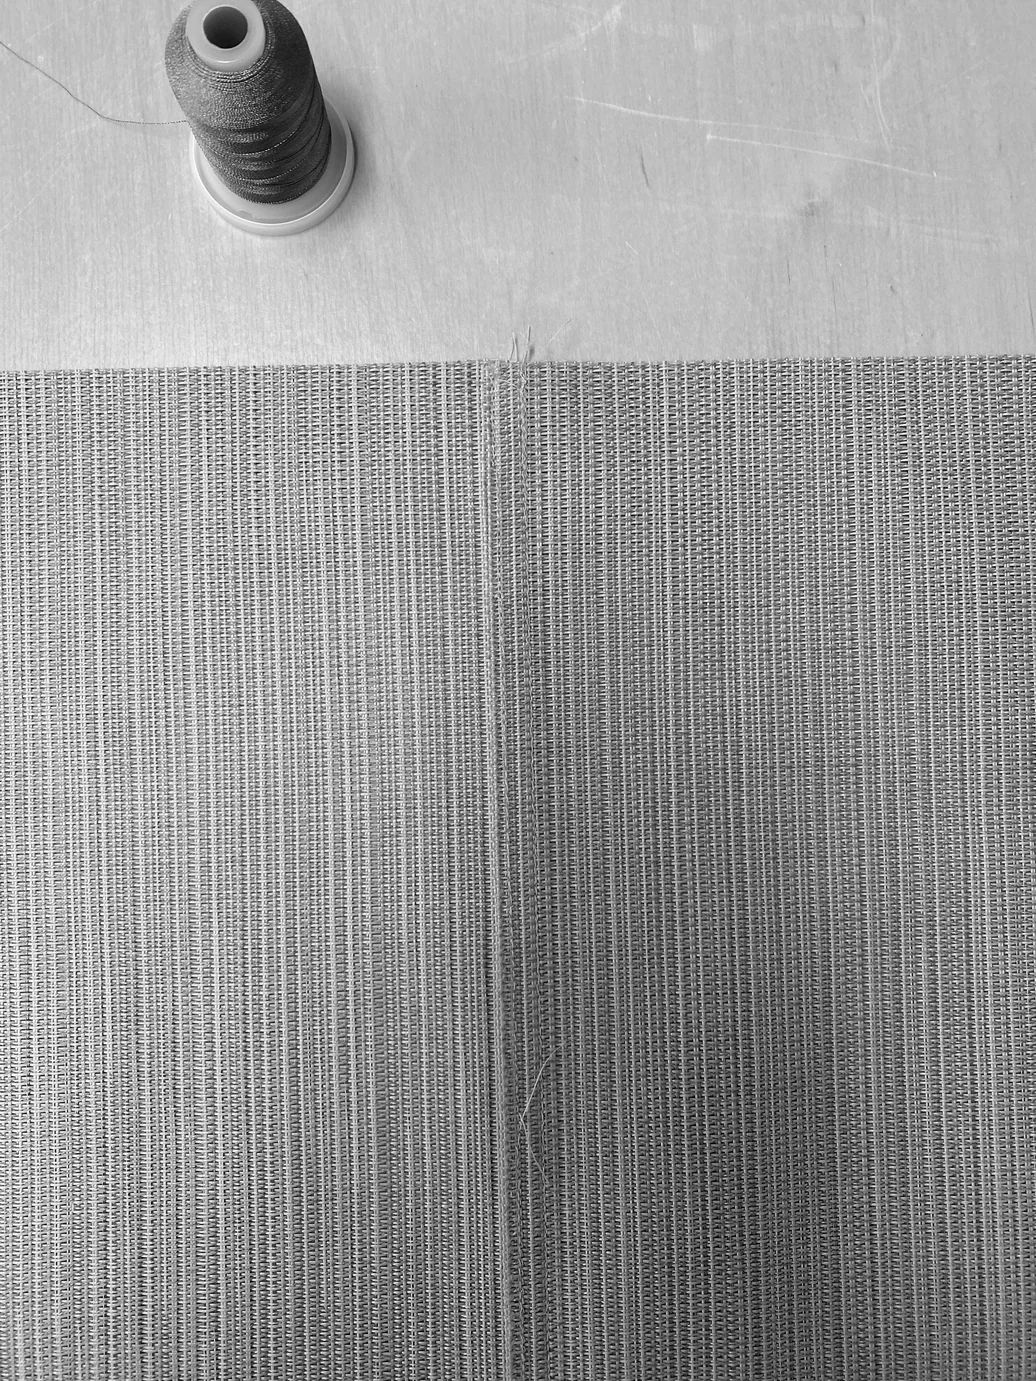
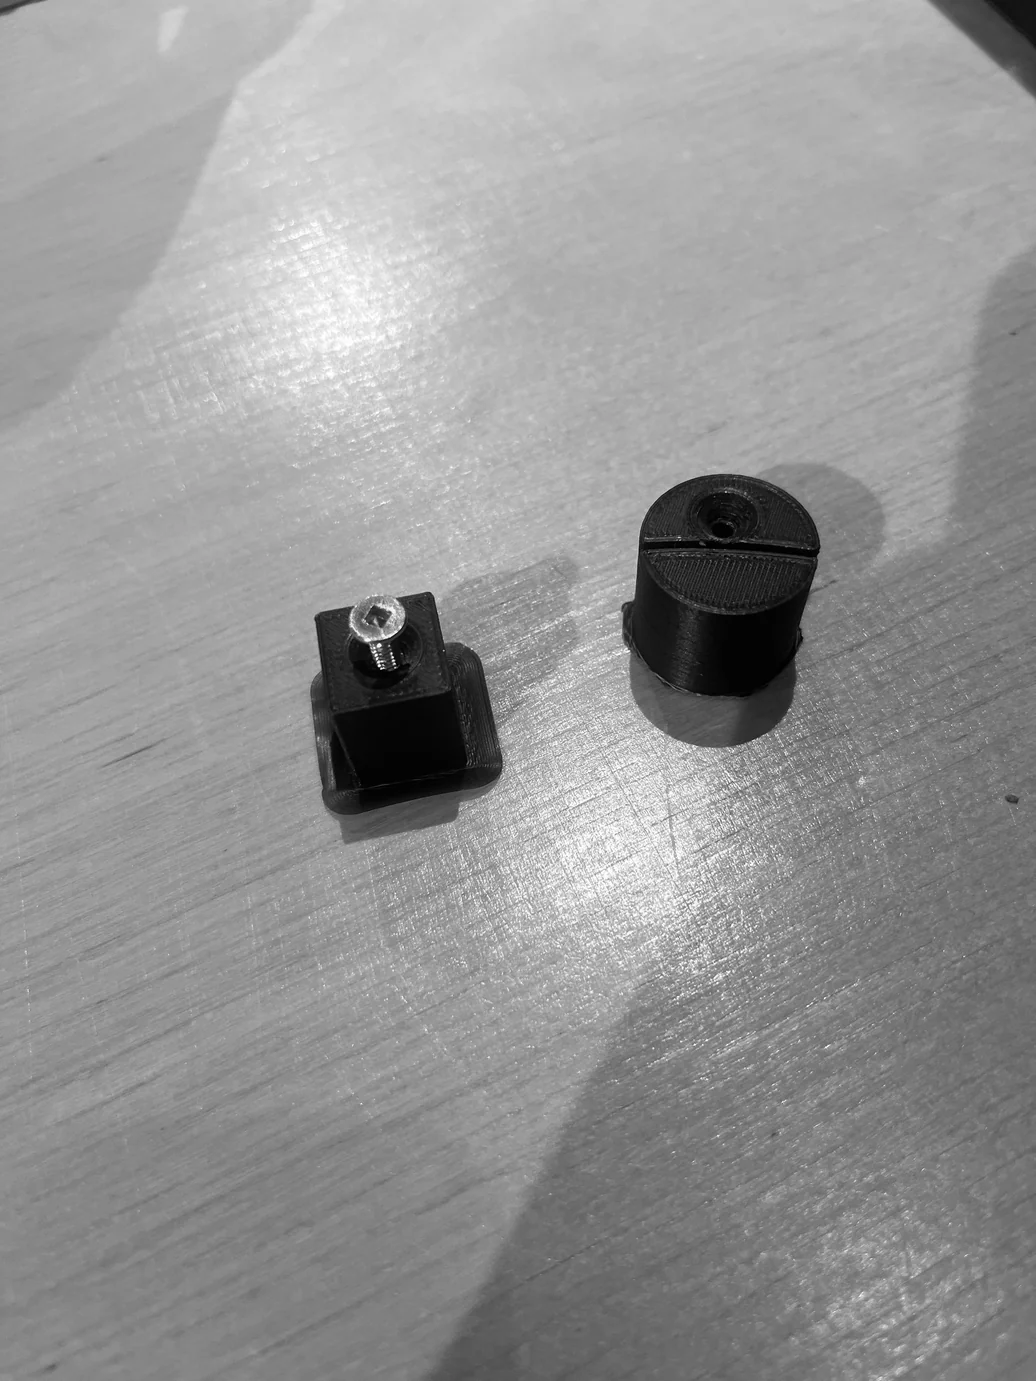
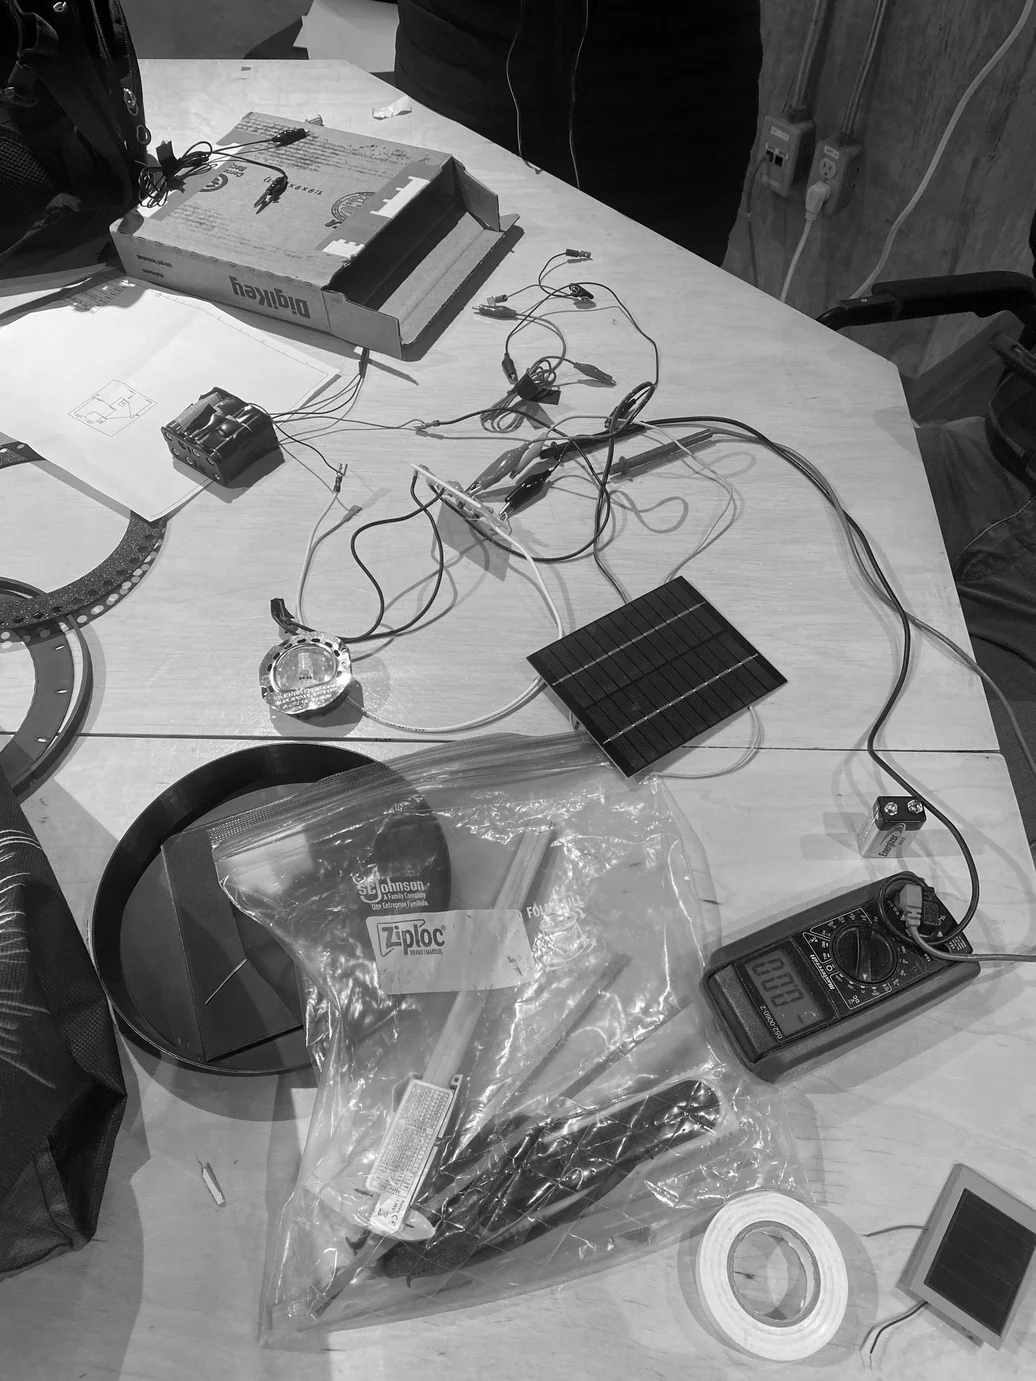
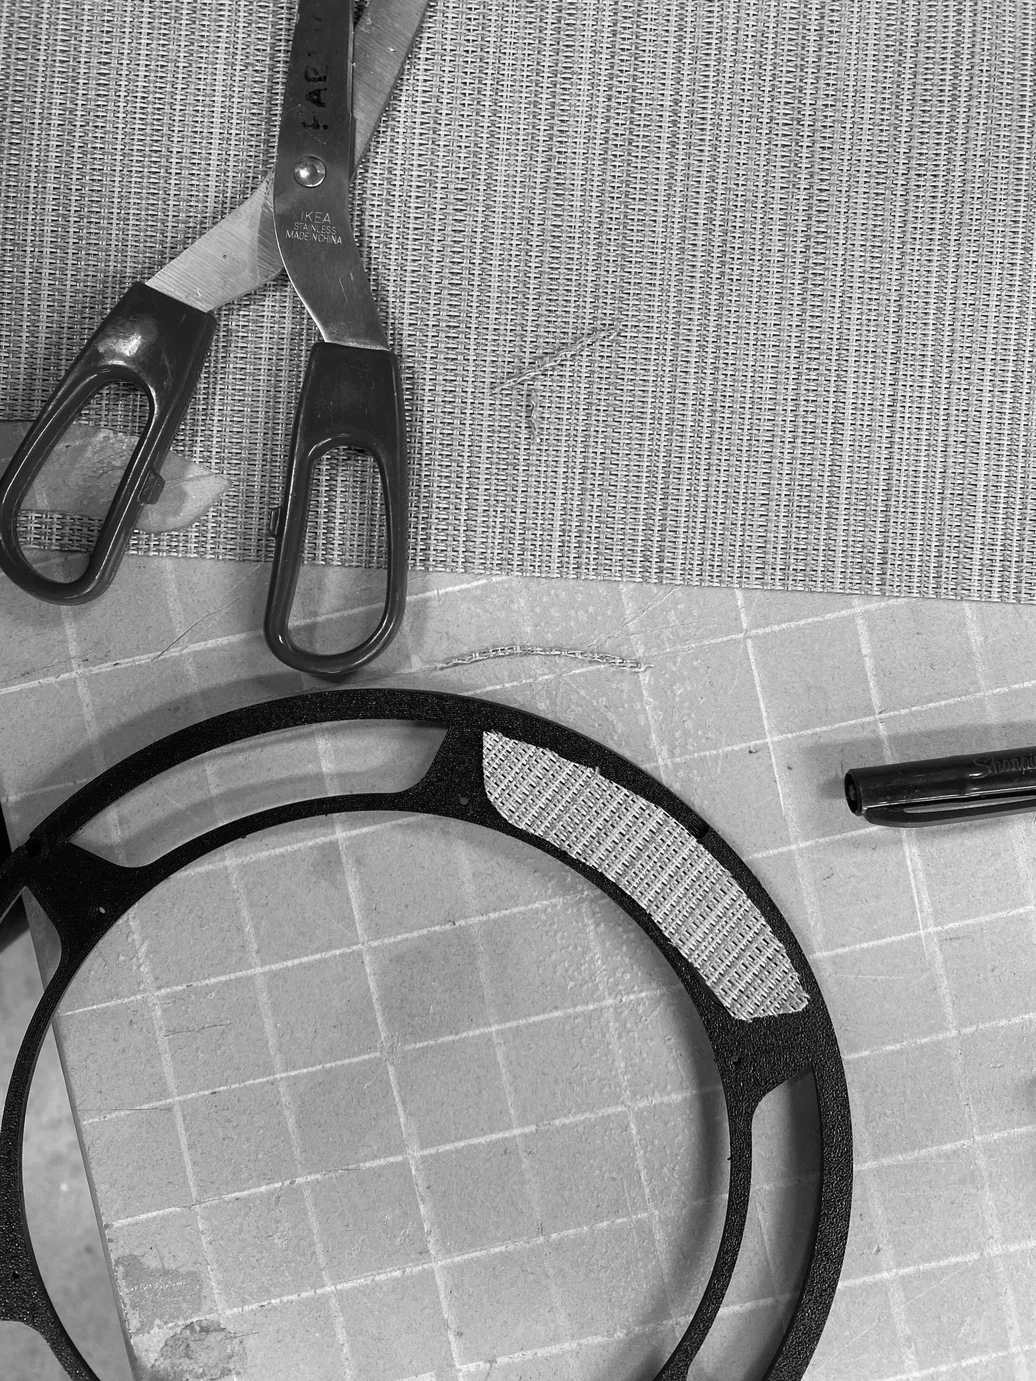
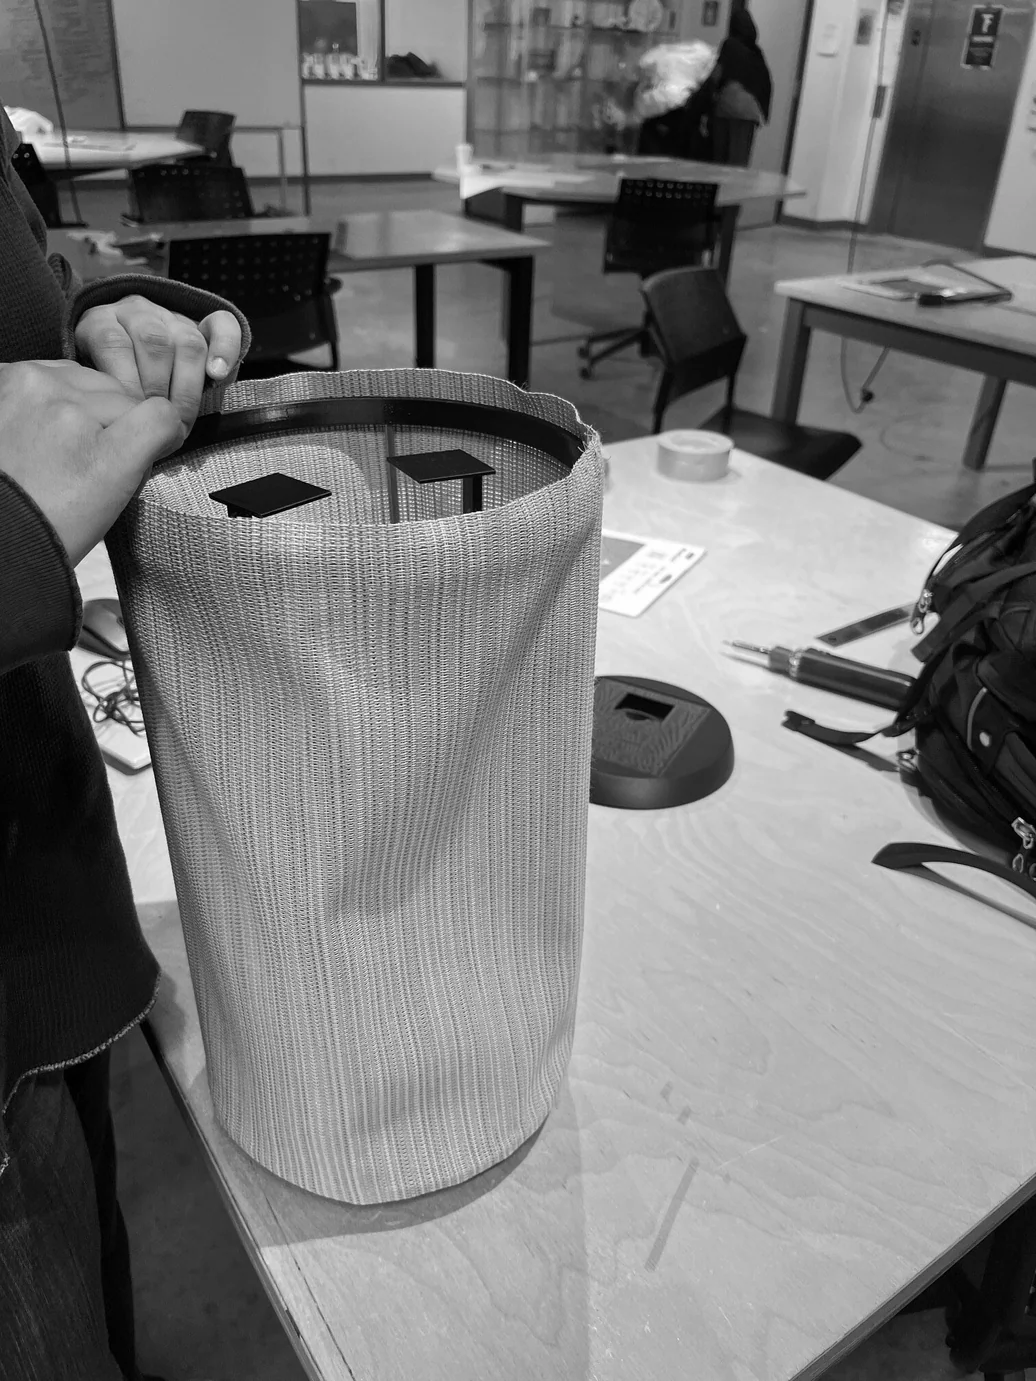
Paper and cardboard models tested proportion and carry ergonomics. A basic circuit — solar panel, battery pack, LED — confirmed the electrical concept before committing to any structure. In parallel, fabric samples were stretched over bare frames and lit from within to find a mesh density that would glow rather than cage the light. The mechanism was iterated in 3D-printed parts until the handle snapped up and laid flat reliably.
Phase 2 — Mechanism & Proof of Concept
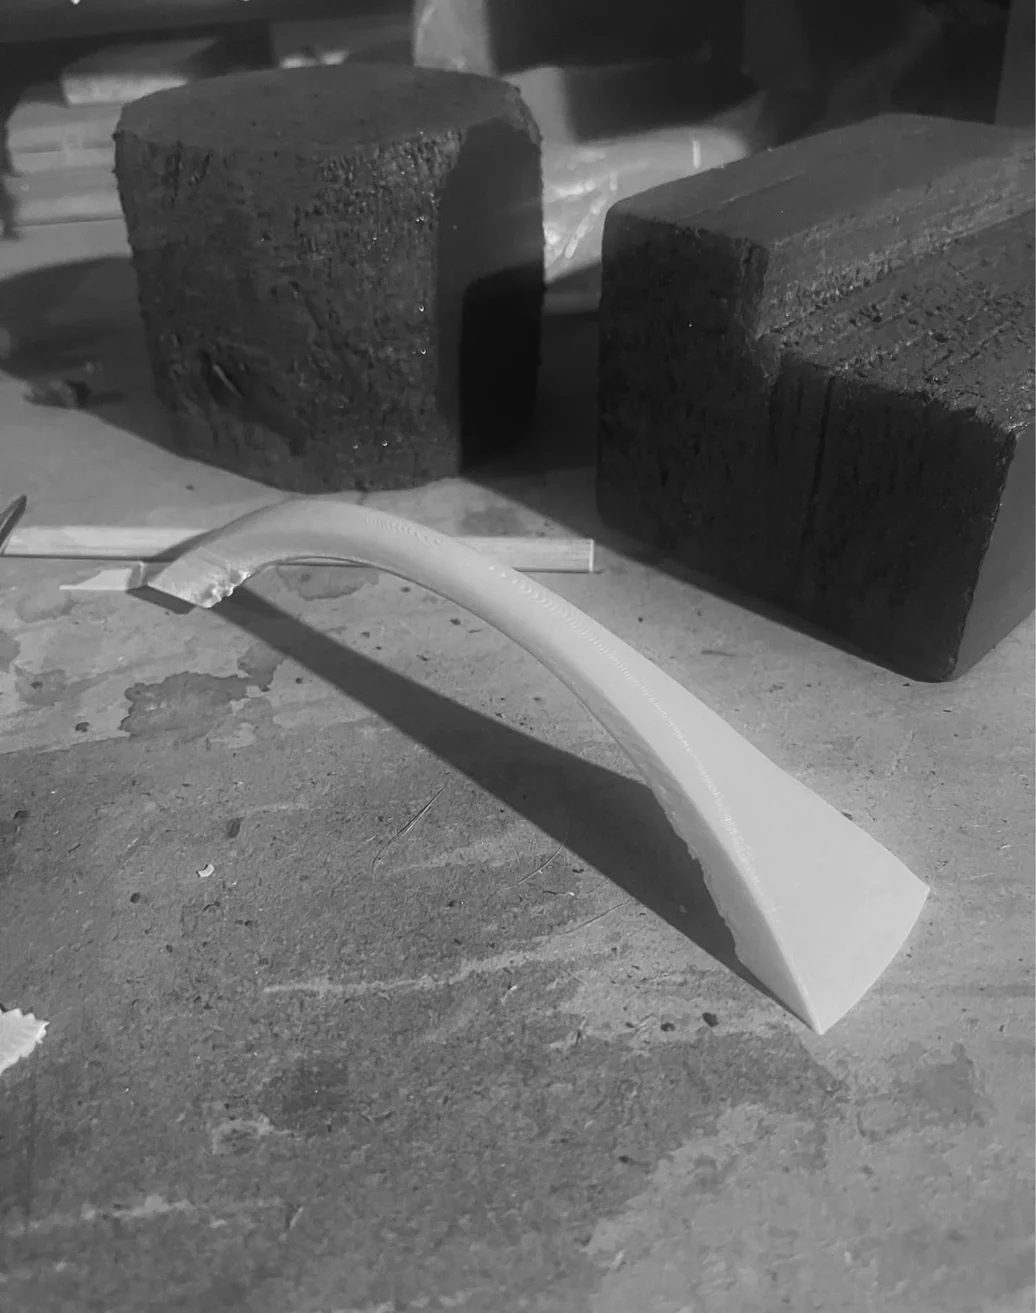
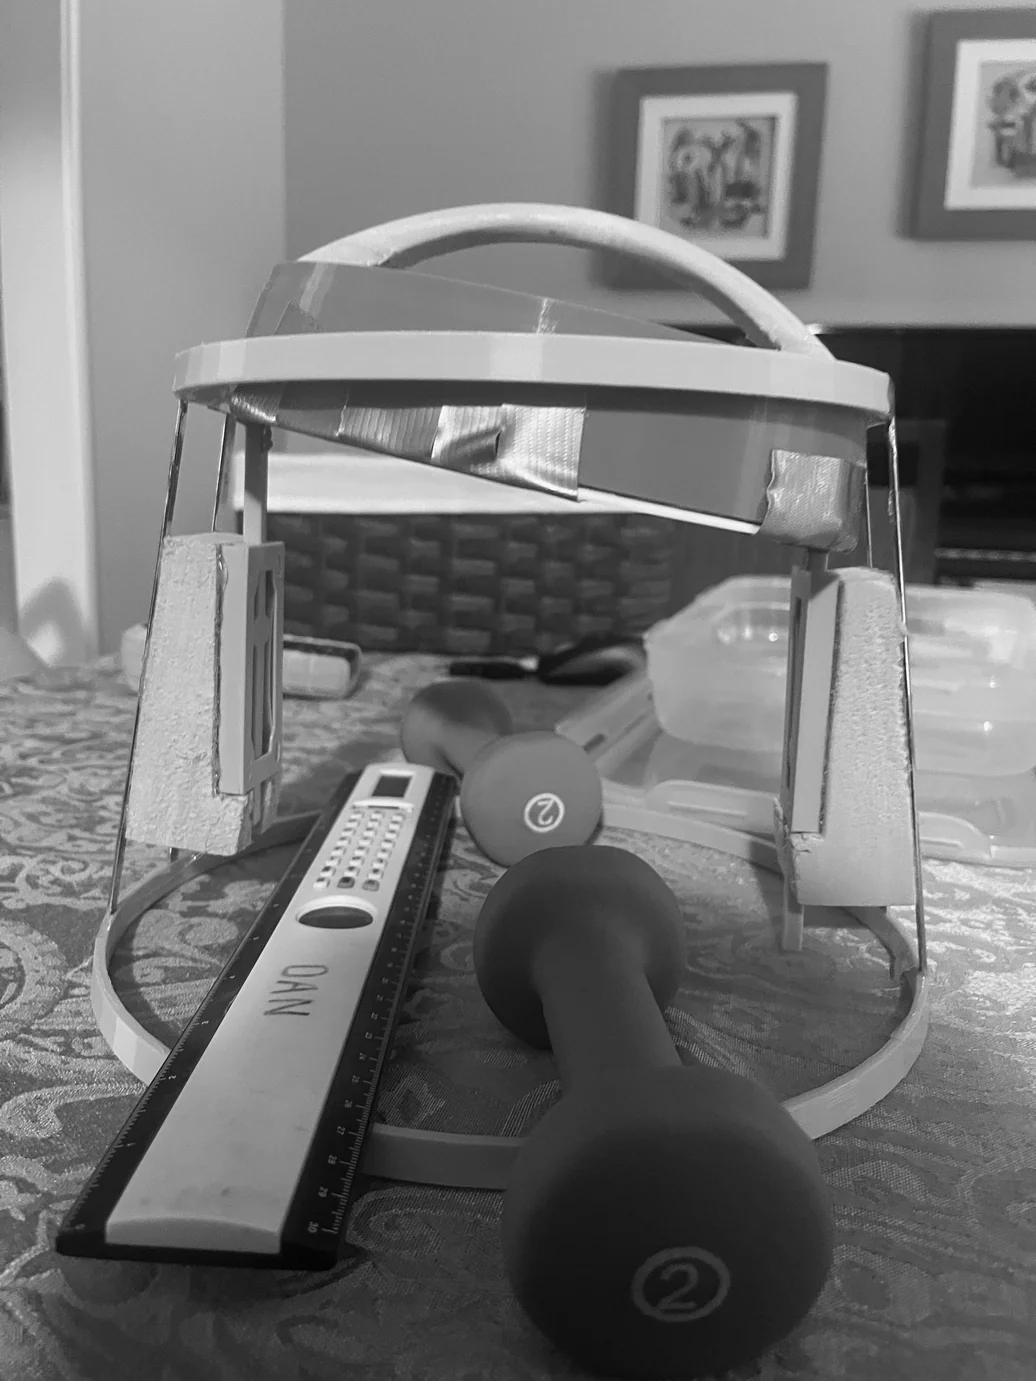
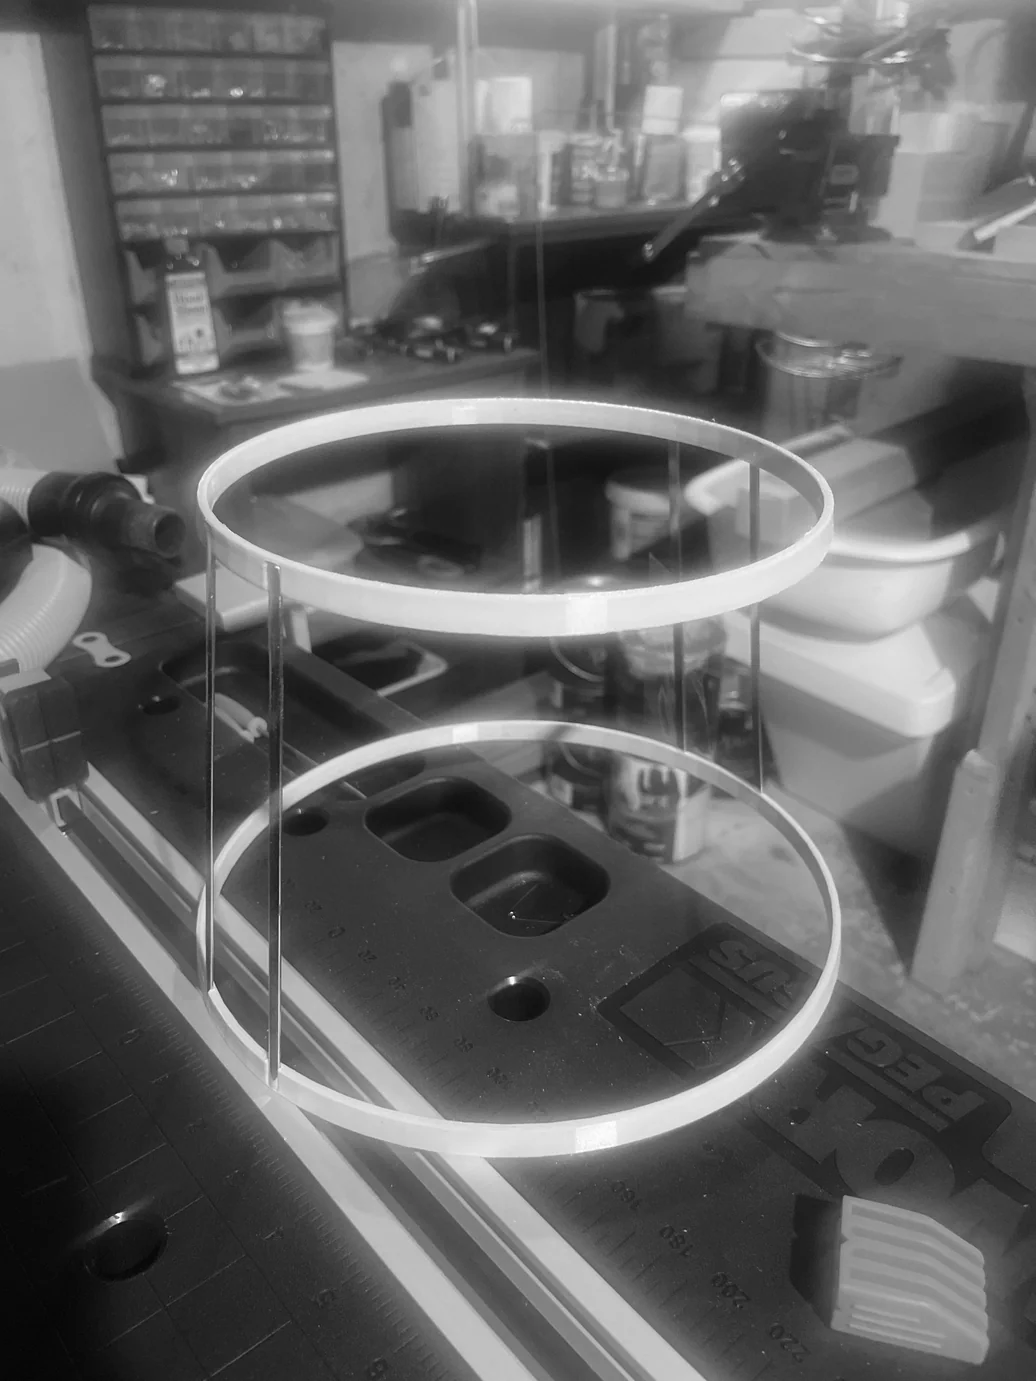
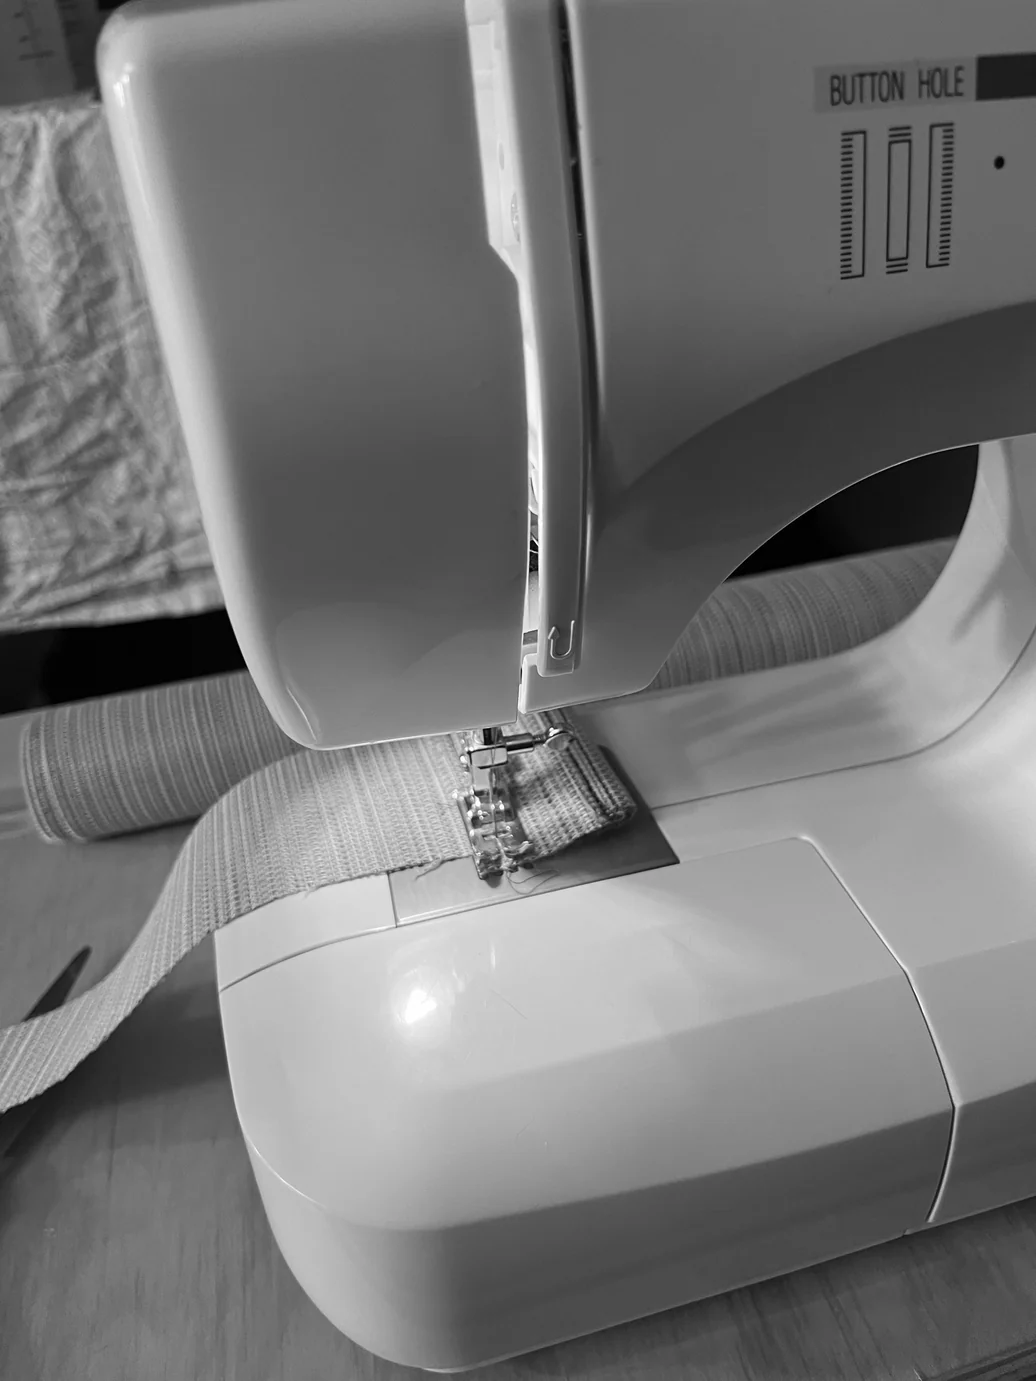
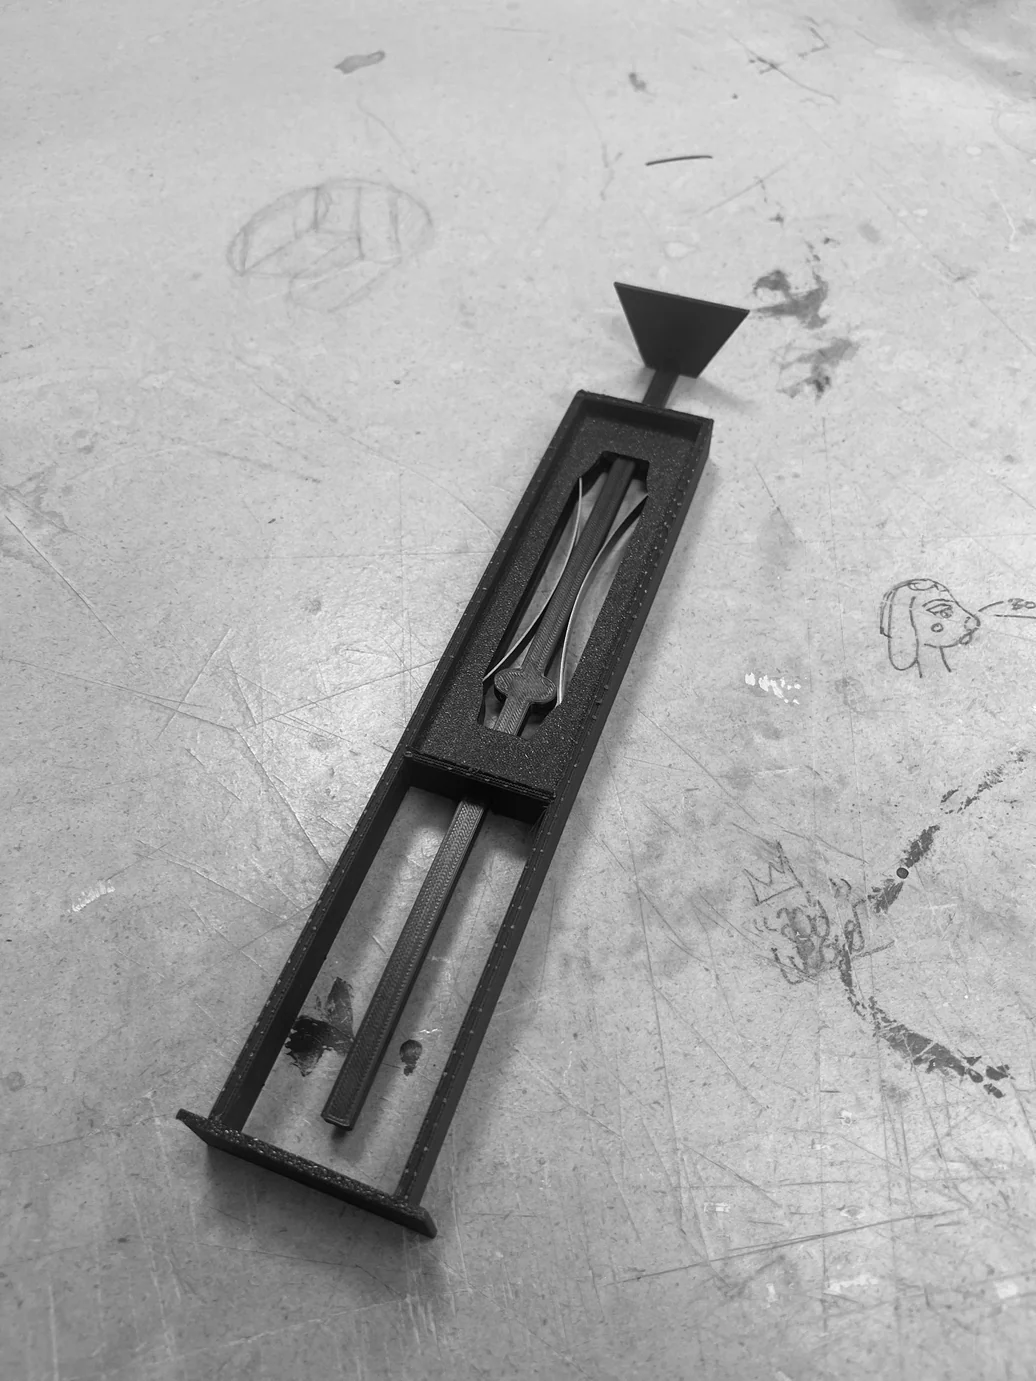
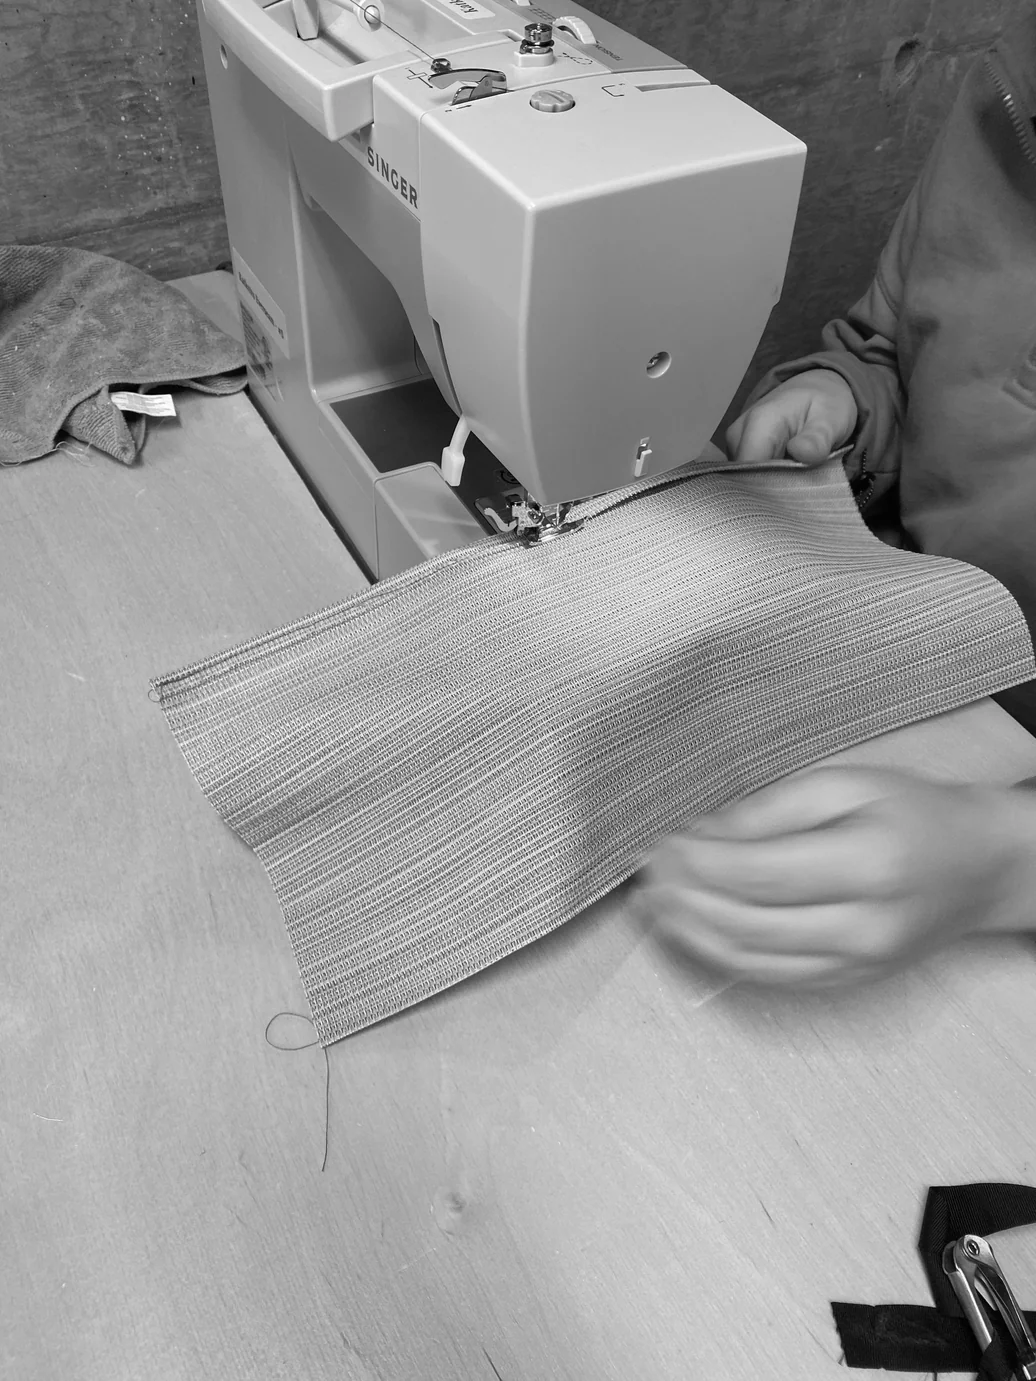
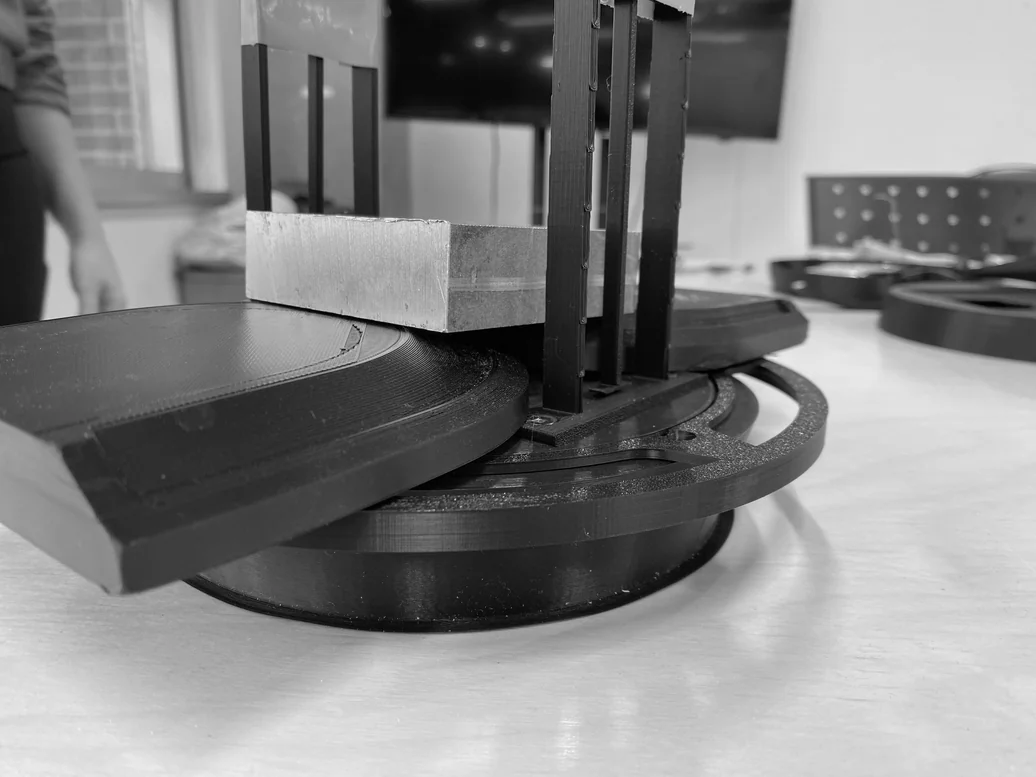
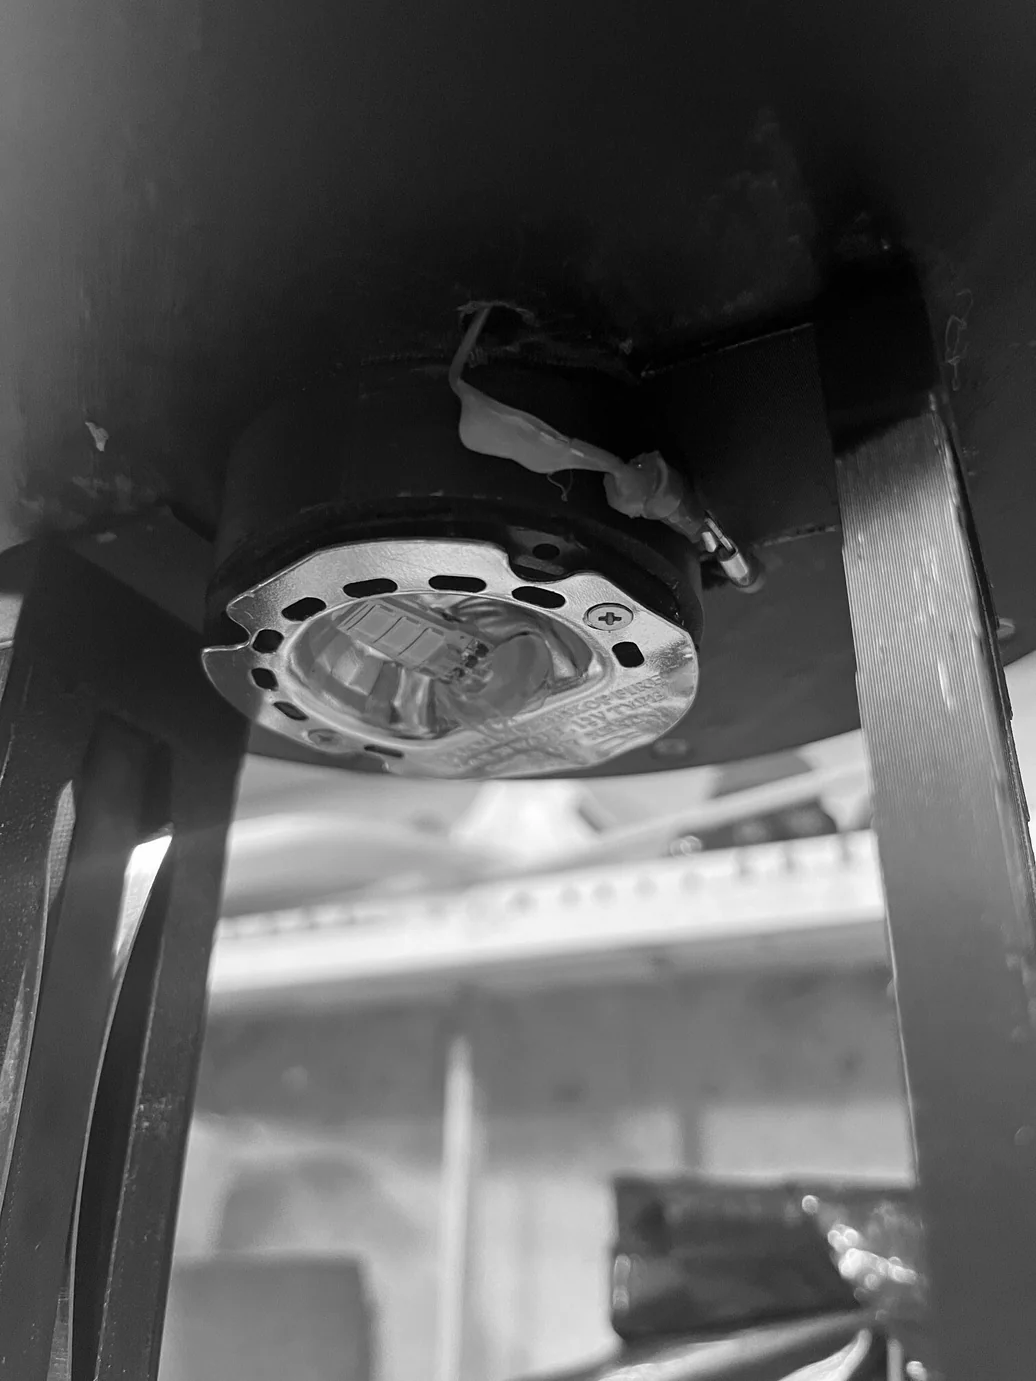
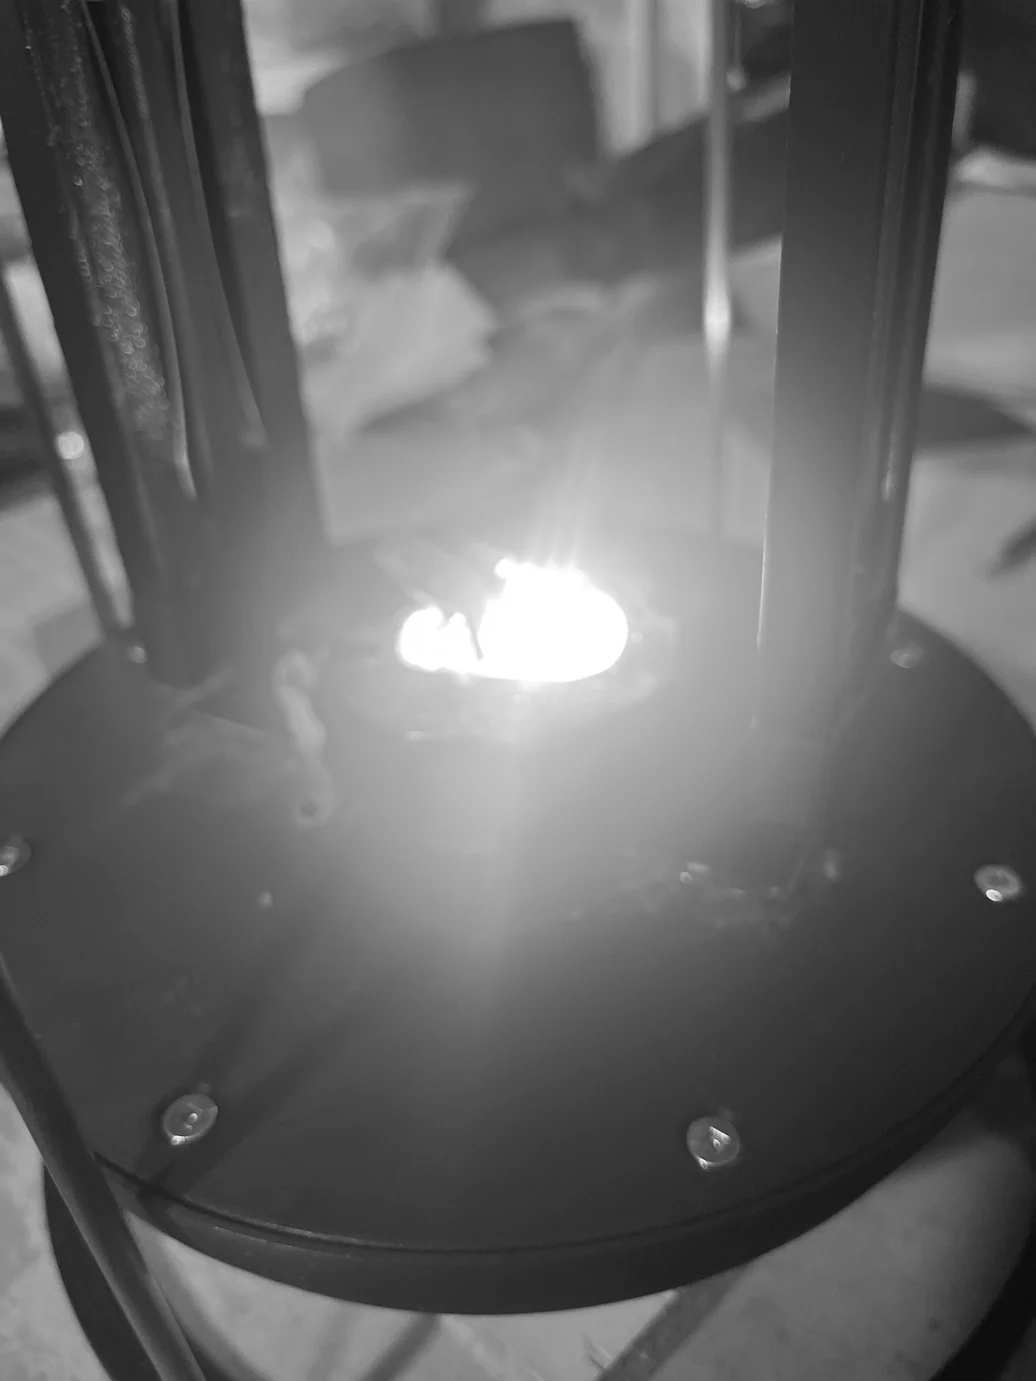
The structural frame was assembled and the LED ring tested in-situ. The handle mechanism — spring-steel strip seated in a 3D-printed housing — was iterated until the snap felt right. The woven fabric shade was hand-sewn onto the aluminium frame to produce a full works-like prototype validating proportion, diffusion, and the handle transition before final components were committed to.
Phase 3 — Final Components & Circuit
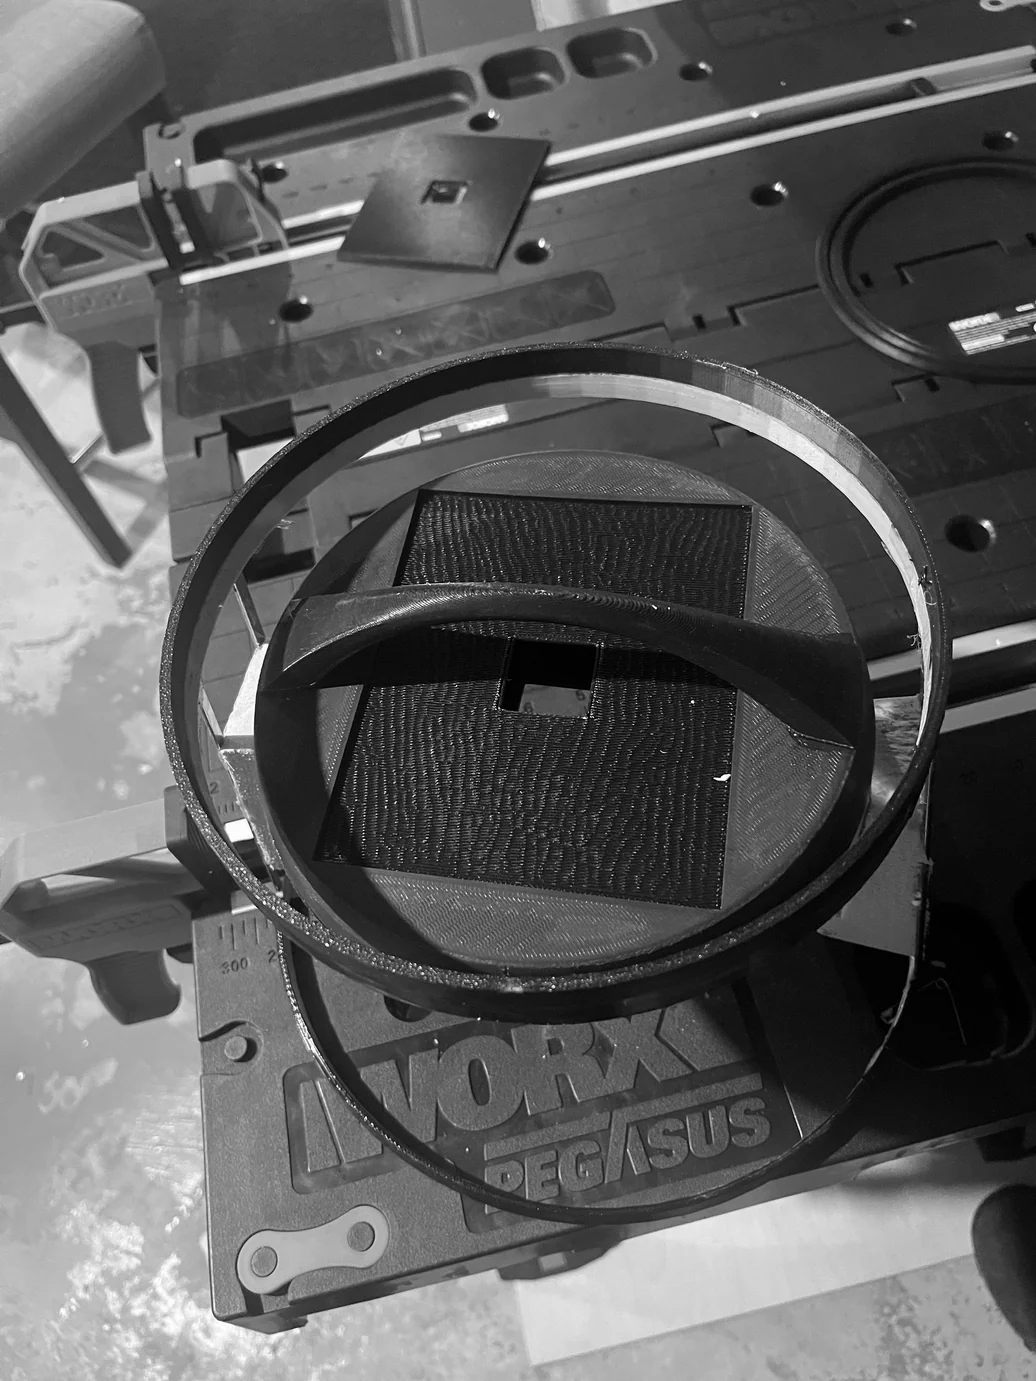
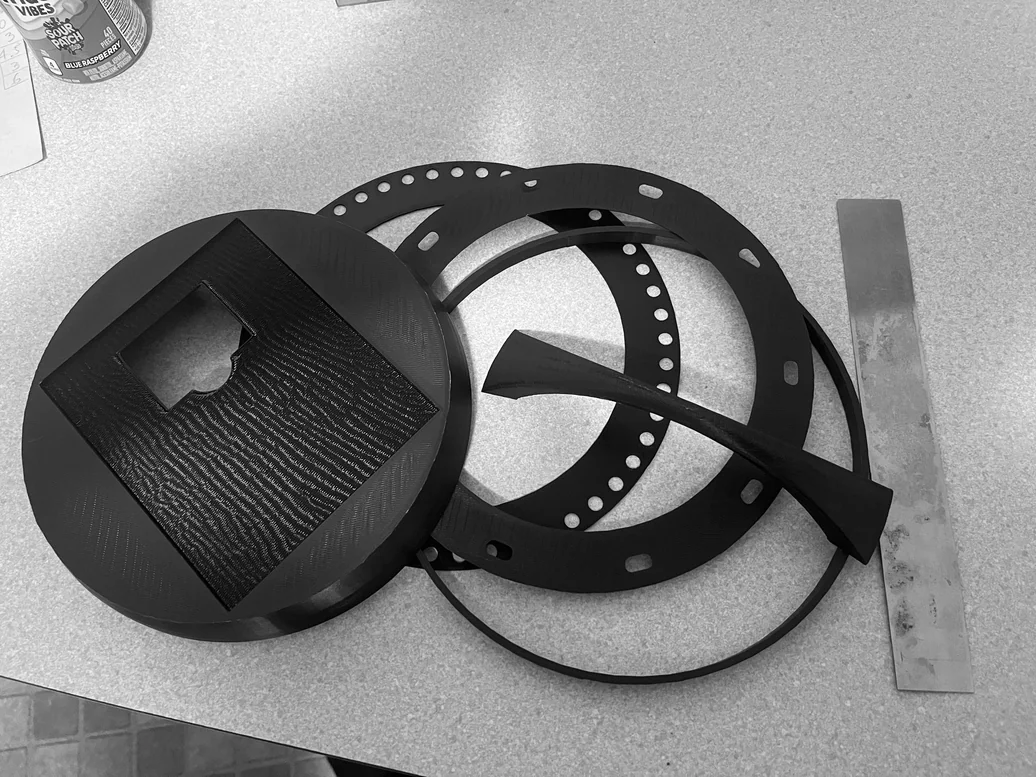
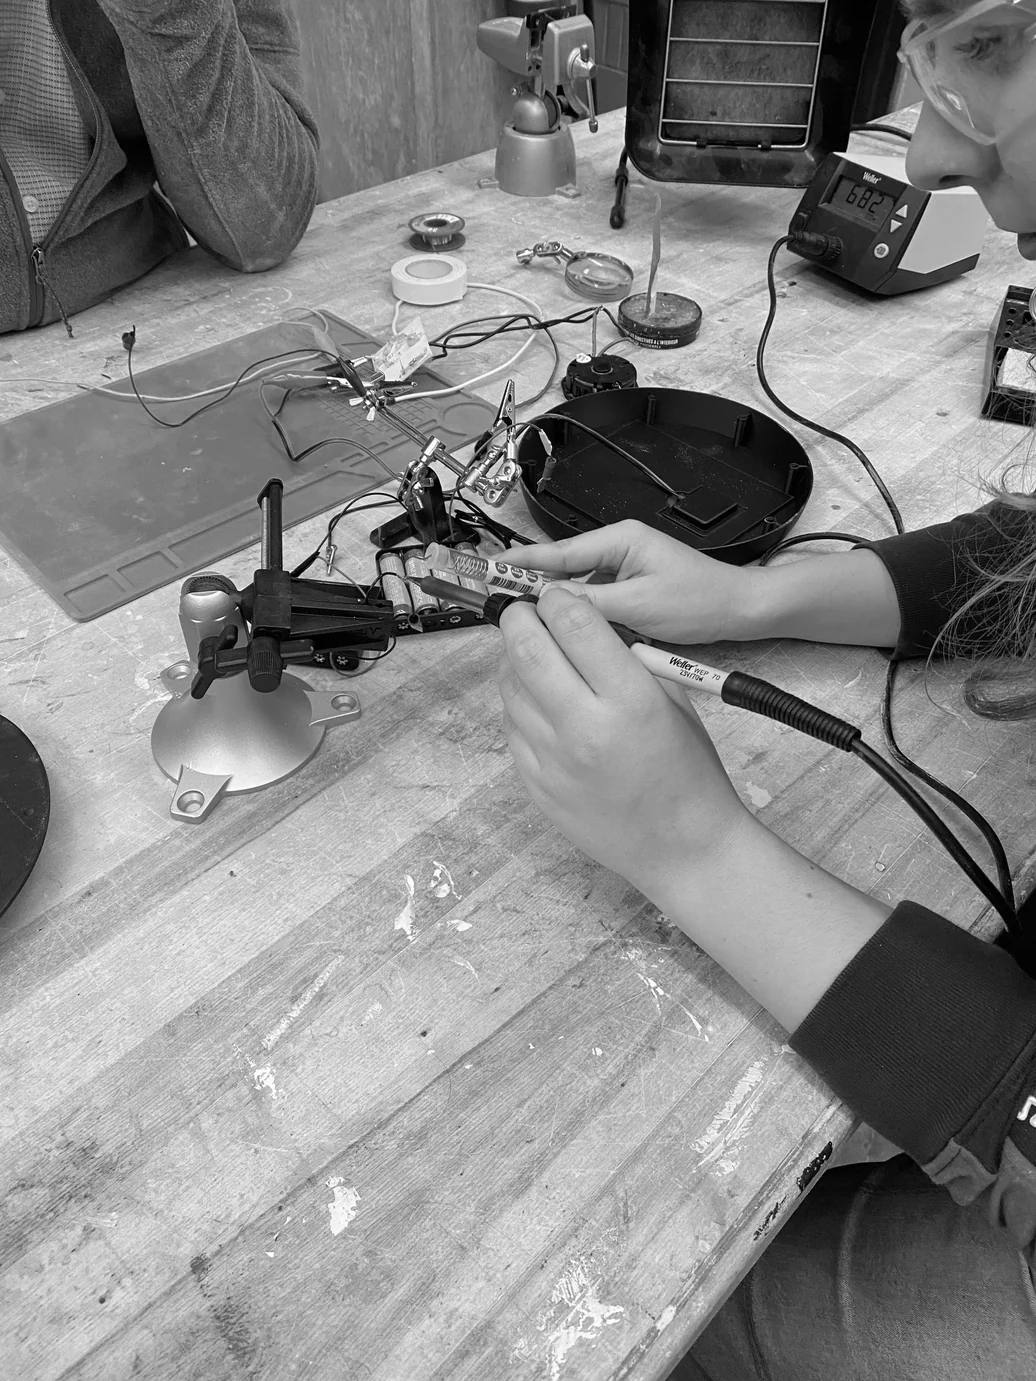
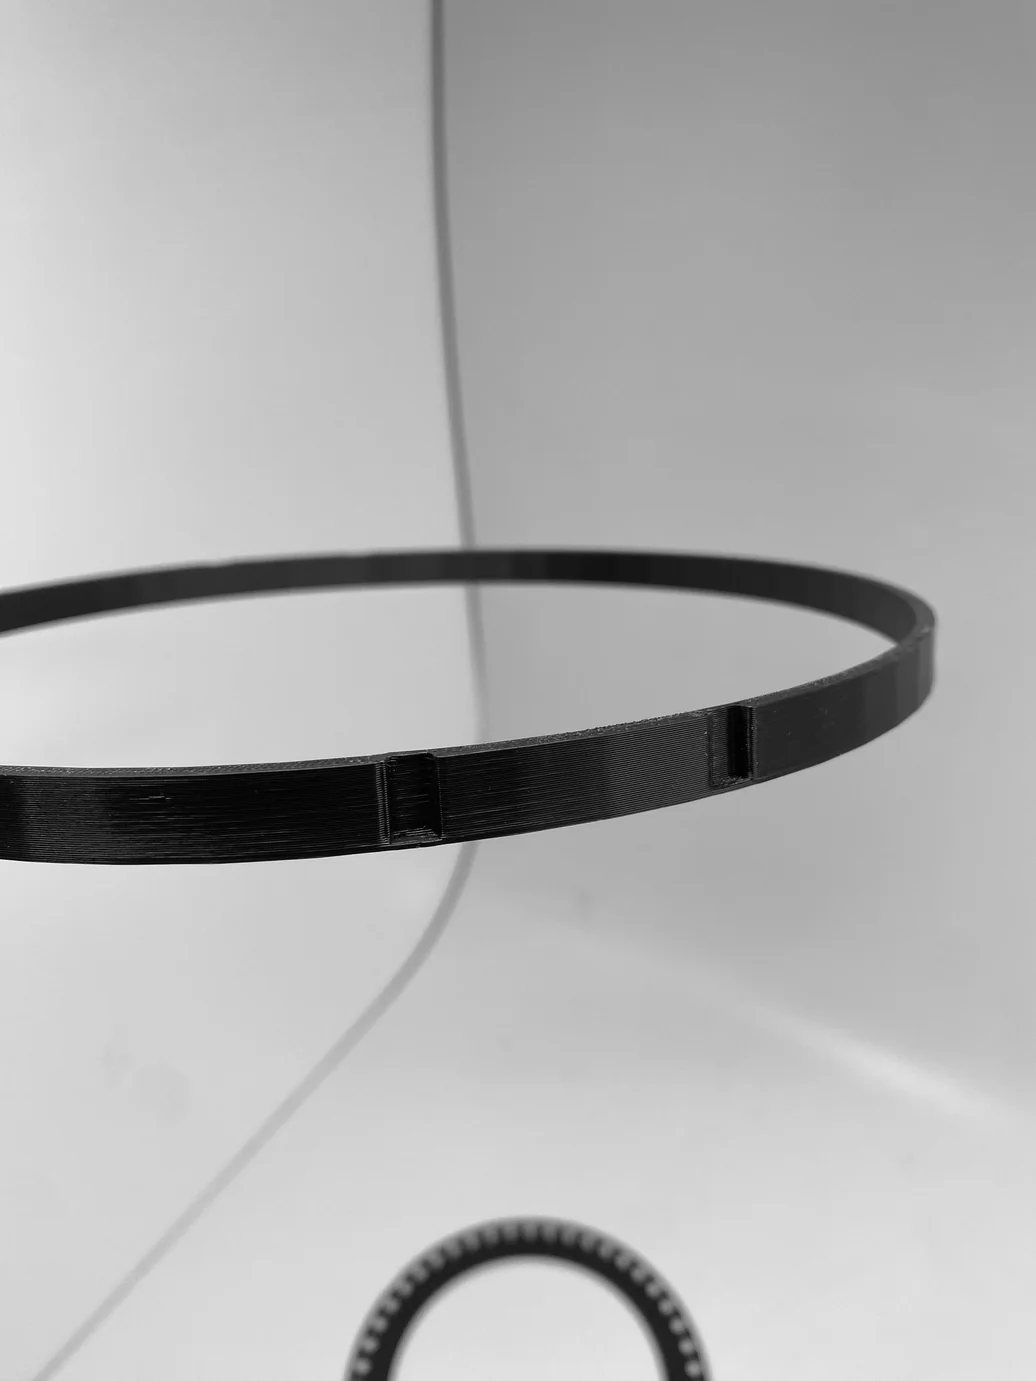
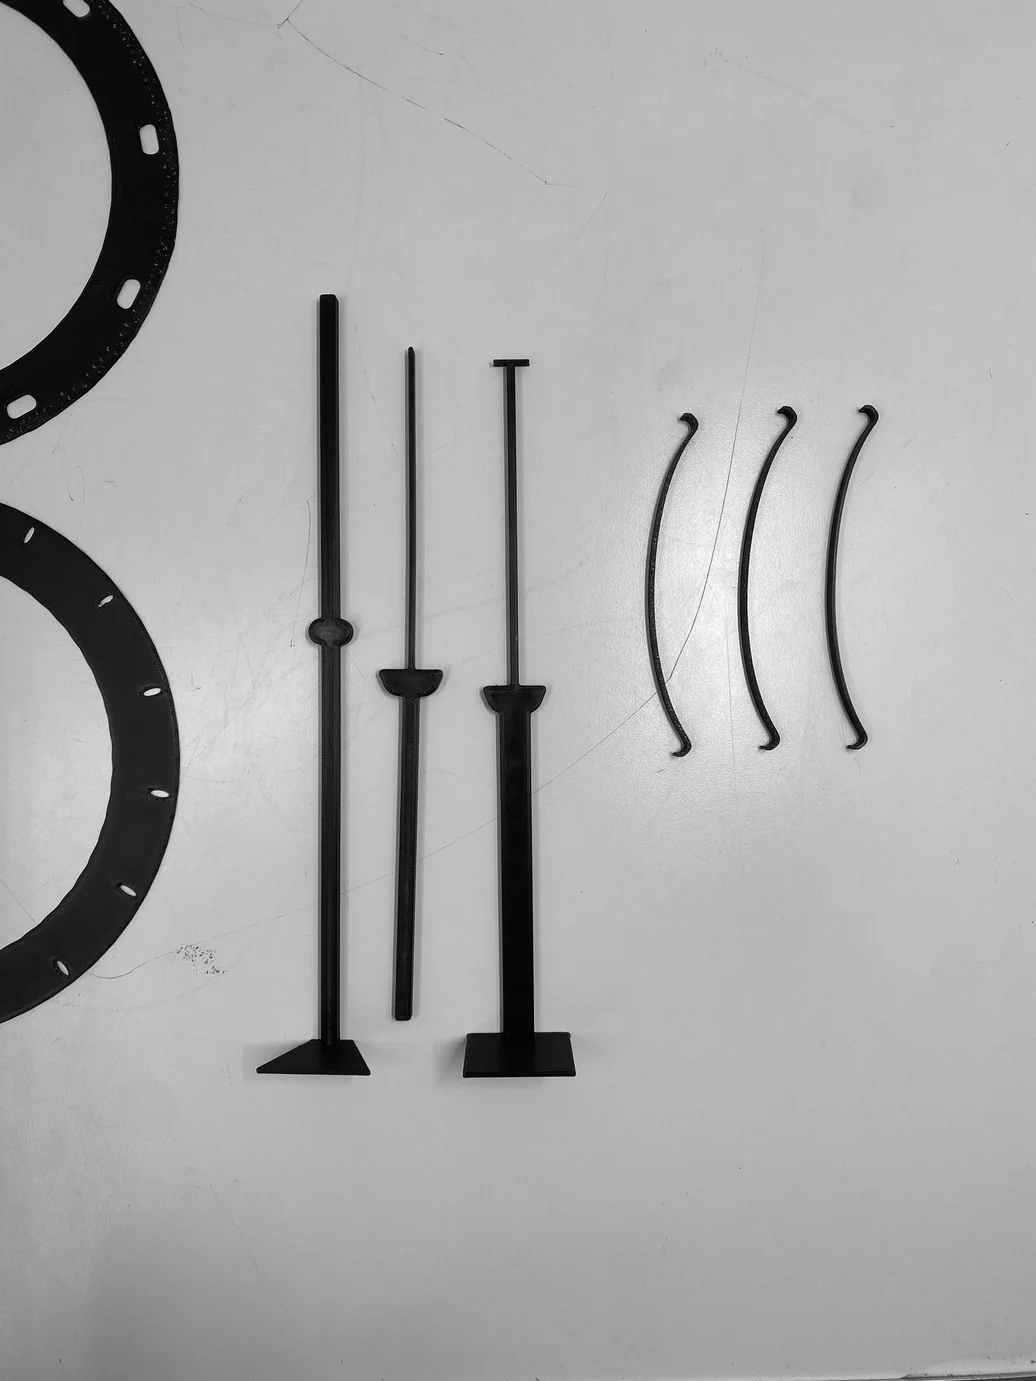
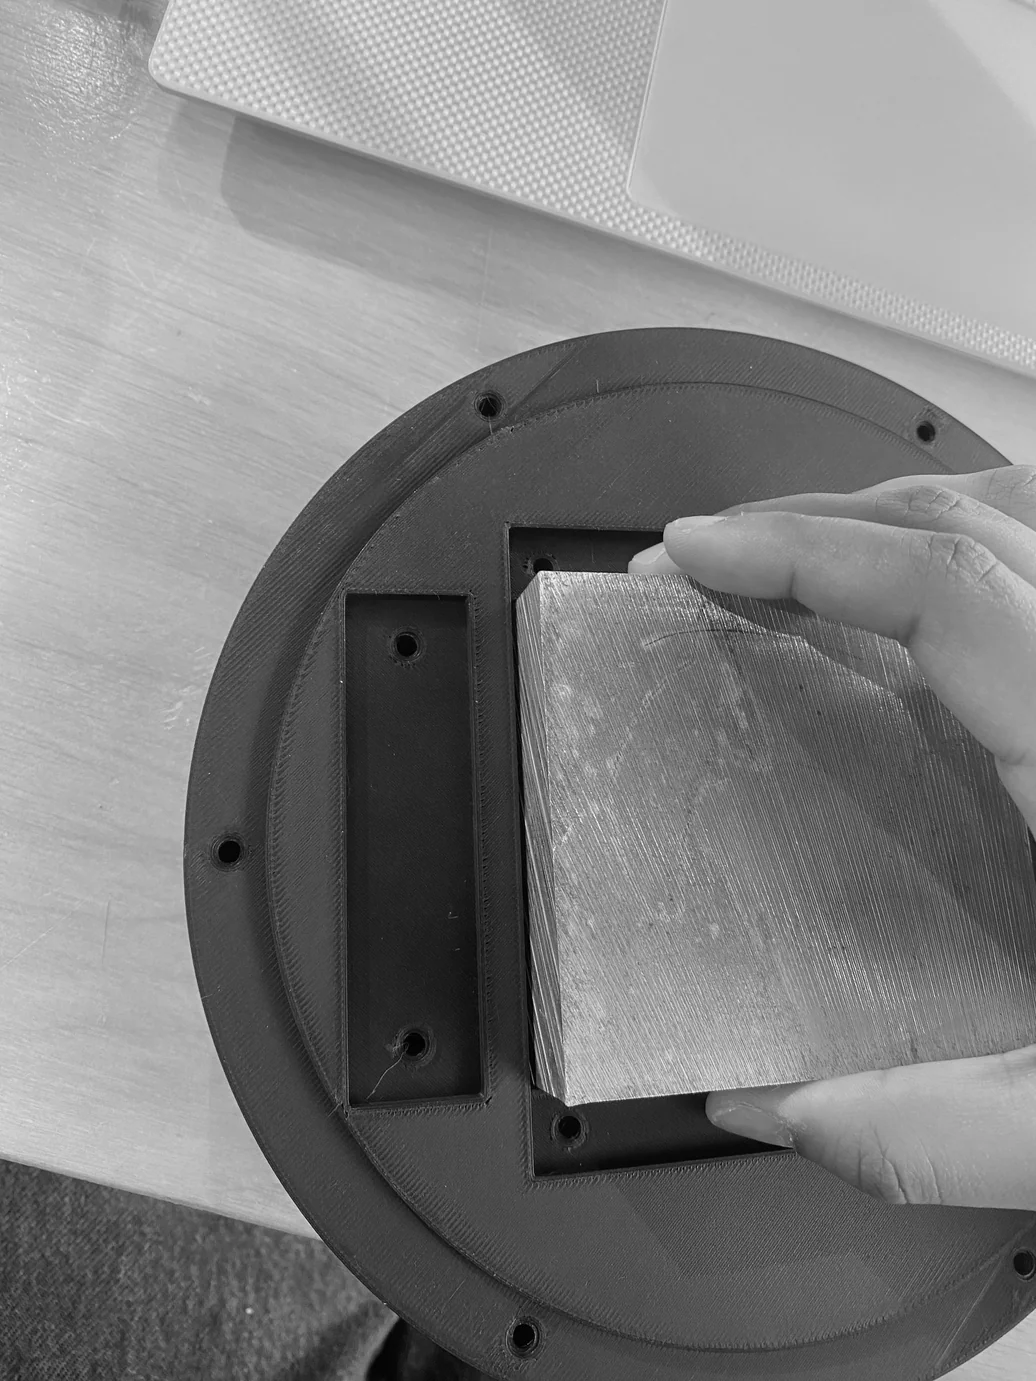
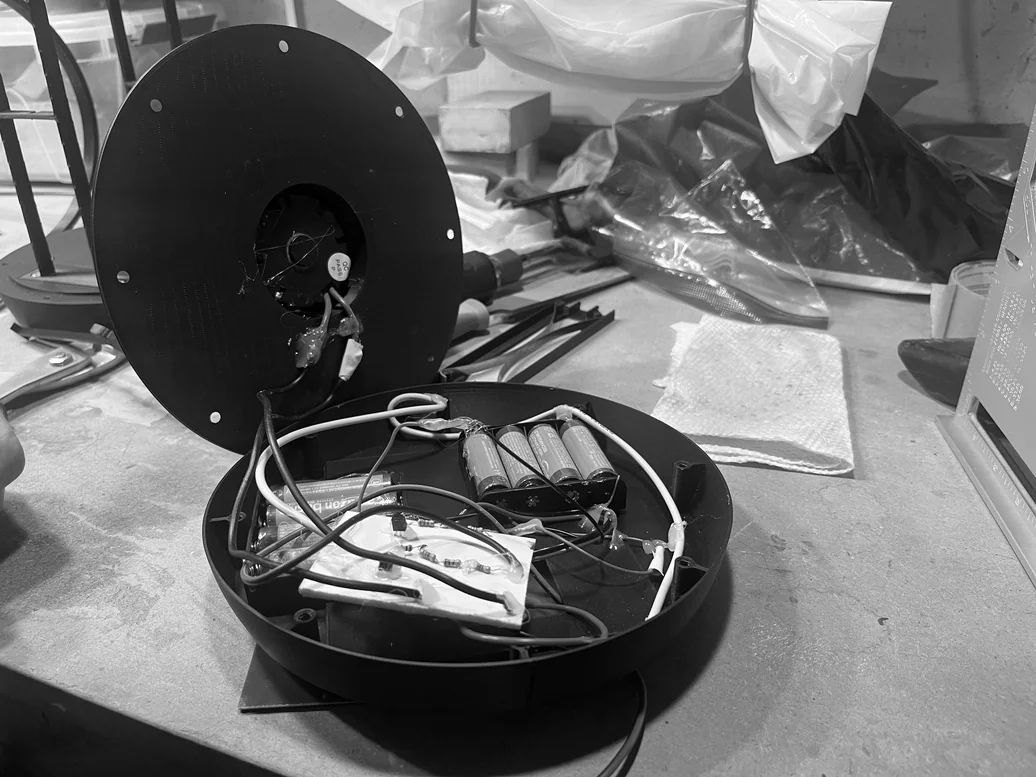
The final phase resolved the electronics and brought all components to their finished state. The full circuit was soldered — LED, battery management, and a light-dependent resistor that automatically activates the lamp at dusk. All 3D-printed parts were printed in matte black PLA and finished for assembly. The base ring connects the four aluminium extrusions and provides a stable, weighted foot. The top disc houses the solar panel and spring-steel handle mechanism. Final assembly brought the system together: aluminium frame, 3D-printed nodes, woven fabric shade, and integrated electronics — all functioning as a cohesive unit.
Final